Embarking on your smart home journey is most cost-effective with Smart Wi-Fi bulbs. Regardless of the brand, these bulbs are foolproof. After connecting, manage them effortlessly through the app or remote control, exploring features like multiple colors. But, the first step is connecting them to Wi-Fi.
All you need is a compatible mobile app, a reliable internet connection, and a bulb in pairing mode to integrate your smart light with your home network. Utilize the companion app to configure the bulb and link it to your virtual assistant.
I’ll direct you through the whole cycle to guarantee your smart bulb is effectively associated with and working on your mobile device.
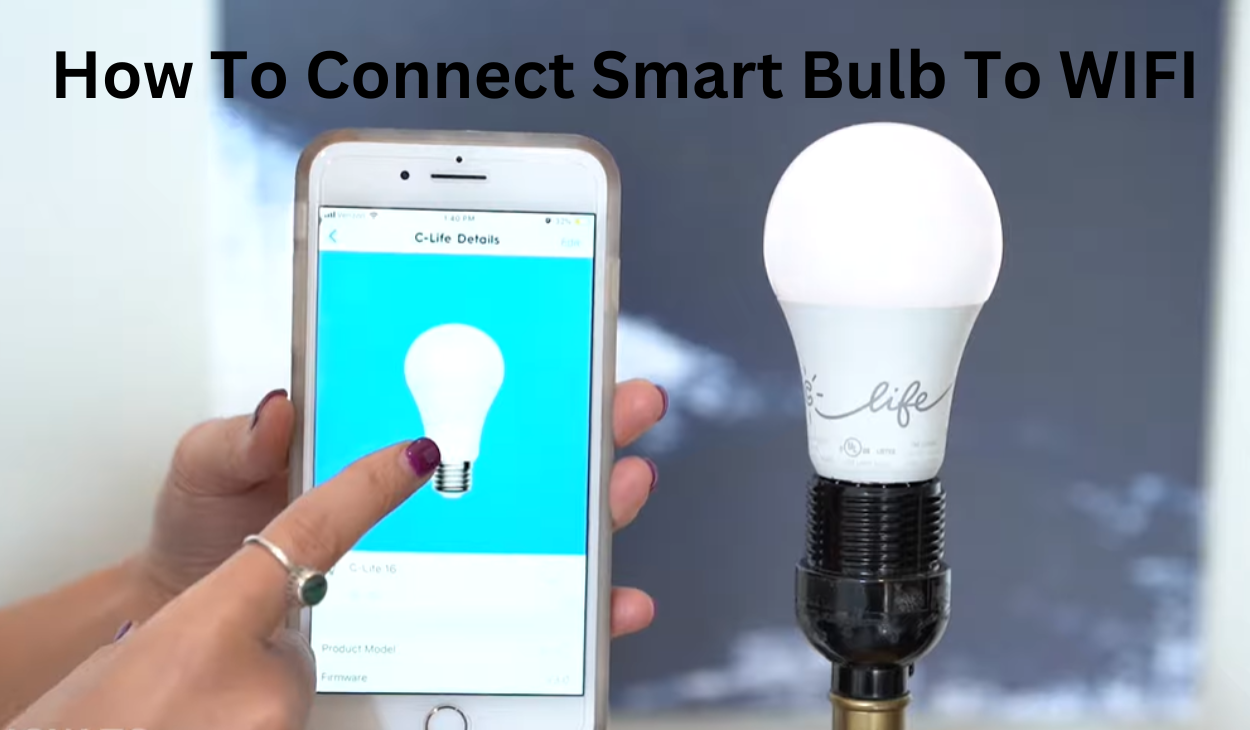
How To Connect Smart Bulb To WIFI
Elevate your smart lighting experience effortlessly! Connecting your smart bulb to your home network is a breeze with these simple steps. Download the compatible companion app, register, and verify your user account. Once the app is ready, power up your smart bulb to activate pairing mode and seamlessly connect it to your network through the app.
Most Wi-Fi light bulbs are stand-alone, offering a hassle-free plug-and-play option with no need for a hub. However, some models may require a smart hub, which should be connected to your network before adding the bulb.
Ensure a smooth connection process by following these essential requirements:
- Set your Wi-Fi SSID to 2.4 GHz. If your switch communicates both 2.4 and 5 GHz networks under a solitary SSID, briefly cripple the 5 GHz choice during arrangement.
- Associate your mobile device with a similar 2.4 GHz Wi-Fi organization.
- Disable the VPN or Promotion watch on your mobile device to avoid any availability issues.
- Enable Bluetooth and Area authorizations for consistent incorporation.
- Confirm that your smart bulb is inside the scope of your organization.
- Connect the light to a customary light installation or lamp.
- Utilize a viable application to control and modify your lighting experience.
With these fundamental requirements in place, the connection process is smooth and hassle-free. For those with a 5 GHz network signal, consider investing in a Wi-Fi extender with both 2.4 and 5 GHz capabilities.
To check your Wi-Fi network settings, log into your router admin panel. Most smart bulbs, like other smart devices, are designed to connect to a 2.4 GHz Wi-Fi network.
Remember, using an incompatible Wi-Fi network is the primary cause of connection failure. Upgrade your smart lighting arrangement today for consistent and enlightened insight!
Understanding Your Smart Bulb
Smart bulbs transcend traditional lighting, offering a spectrum of features to enhance your home environment. These intelligent devices vary widely, from dimmable options for personalized brightness to color-changing bulbs that set the mood effortlessly. A few smart bulbs even consolidate sensors, adding comfort through movement or encompassing light discovery.
At their center, smart bulbs normally utilize Drove innovation, guaranteeing energy proficiency and life span. The control hardware works with consistent correspondence with outside gadgets. It’s significant to get a handle on these elements and parts before leaving the Wi-Fi association process. This basic figuring out works on the arrangement as well as engages you to saddle the maximum capacity of your smart bulb. Counsel the producer’s documentation for model-explicit subtleties, guaranteeing a smooth combination into your smart home ecosystem.
Choosing a Compatible App
To link your smart bulb to a Wi-Fi network, you’ll need a suitable app. Virtually every smart device brand offers an app tailored to their products.
Find the recommended app for your smart bulb in the user manual or product box; you can download it from your respective app store.
The Smart Life app is versatile, compatible with most smart devices, and can sync with Alexa or Google Home. If you’re using a different brand, utilize their companion app to connect the smart light to your Wi-Fi network.
On your mobile device, access your app store to download the companion app. Create and verify your user account.
For the app to identify and add devices to your Wi-Fi network, ensure it has Bluetooth and location access. When prompted, grant the necessary permissions.
Once the app is installed and active, the process of adding the bulb is simple.
Power The Smart Bulb and Wi-Fi Network
Before you connect the bulb to prevent electric shock, you can just switch off the wall switch. Next, remove any existing traditional bulb, screw in the new smart bulb, and finally, turn on the main switch.
Once turned on, the smart bulb will activate pairing mode, indicated by continuous flashing. This mode lasts for 2-5 minutes, during which you can pair the bulb within its “discoverable” period.
If the bulb doesn’t enter pairing mode right away, execute a reset to kickstart the setup procedure. Follow the specified on-and-off sequence for the reset.
It’s essential to note that smart bulbs require a consistently ON physical wall switch. With the switch on, you can leverage the app or a virtual assistant to control and schedule the smart bulb.
Connecting The Bulb to The App
Once the bulb is powered and consistently flickering, it’s now time to integrate it into your network using the app. The specific steps may differ between apps, but the underlying logic remains consistent.
To embark on this journey of connectivity:
- Launch the Companion App: Fire up the companion app on your mobile device, setting the stage for a seamless connection.
- Initiate Device Addition: Tap the unmistakable “+” or “add device” button, ensuring Bluetooth and location services are activated if prompted.
- Select Device Category: Navigate through the app to select the appropriate device category. For lighting devices, it’s often a straightforward choice.
- Specify Bulb Type or Model: Choose your bulb’s unique type or model, accounting for any variations such as filament bulbs, strip lights, or night lights.
- Network Configuration: Supply the necessary network details by selecting your 2.4 GHz Wi-Fi network and entering the correct password.
- Pairing Mode Confirmation: Confirm that your bulb is in pairing mode – a state indicated by rapid blinking. If not, follow the in-app process to reset the bulb.
- App Discovery and Initialization: Let the app work its magic as it discovers, registers, and initializes your smart bulb.
- Personalize Your Smart Bulb: Once successfully added, breathe life into your smart bulb by naming and customizing it to suit your preferences. Assign it to the appropriate room or home setting for a personalized touch.
This process seamlessly integrates your light bulb using the EZ setup mode. However, some apps, such as Gosund, Smart Life, and Geeni, provide an extra layer of security through the backup AP mode.
In the face of challenges, gracefully switch to AP mode if your app supports it and retry the setup process.
And there you have it! Your smart bulb is now harmoniously linked to your Wi-Fi network. For those seeking the pinnacle of convenience, integrate it with your virtual assistant (be it Alexa or Google Home) and revel in testing its myriad features. Illuminate your space with the brilliance of technology!
Final Thoughts
As you lounge in the sparkle of your recently associated smart bulb, consider the excursion from understanding its complexities to consistently coordinating it into your home network. The flexibility of smart bulbs offers brightening, but a dynamic and customized lighting experience. The careful consideration of features during setup ensures you make the most of your investment.
Keep in mind, that your smart bulb isn’t simply a wellspring of light; it’s a demonstration of the developing scene of smart home technology. Embrace the comfort of the controller, the atmosphere upgrading capacities, and the proficiency brought via automation. Regularly explore app updates and manufacturer recommendations to stay abreast of the latest advancements, ensuring your smart bulb continues to illuminate your space in harmony with your lifestyle. Welcome to the future of lighting – where technology meets ambiance with just a tap on your smartphone.