Welcome to join our guide on setting up and optimizing the Kasa Smart Plug. In the present speedy world, smart home gadgets like Kasa Smart keep on offering unrivaled comfort and productivity, pointed toward working on our ways of life. The objective of this article is to assist you through the setup process with handling, alongside tackling normal issues and expanding the usefulness of the module.
From effectively coordinating voice control to improving your WiFi connection by capitalizing on your Kasa Smart Plug, we have covered all that you want to be aware of in this article.
Whether you’re a tech lover or a beginner to smart home innovation, this guide is intended to work on the arrangement interaction and further develop your home automation experience, with troubleshooting tips for you.
Completely Kasa Smart Plug Setup Process
To get your Kasa smart plug connected to your home network, follow these steps:
- Make sure your mobile phone is connected to the same Wi-Fi network your smart plug will use. This network should be on the 2.4 GHz frequency.
- Install the Kasa Smart app and set up an account. Ensure that your app is up-to-date if you already have it installed.
- Power up your smart plug and follow the instructions in the app to connect it to your network.
Remember, Kasa smart devices work with the 2.4 GHz Wi-Fi band, so ensure your router is set up accordingly. If your router supports both 2.4 GHz and 5 GHz bands under one network name (SSID), temporarily disable the 5 GHz option during setup. Alternatively, you can create separate networks for each frequency.
Also, disable any VPN or ad-blocking software on your phone, as they can interfere with the setup process.
After downloading the Kasa Smart app, create a cloud account, verify your account, and agree to the terms and conditions. Make sure to enable location and Bluetooth permissions when prompted.
Follow these steps to seamlessly integrate your Kasa smart plug setup into your network.
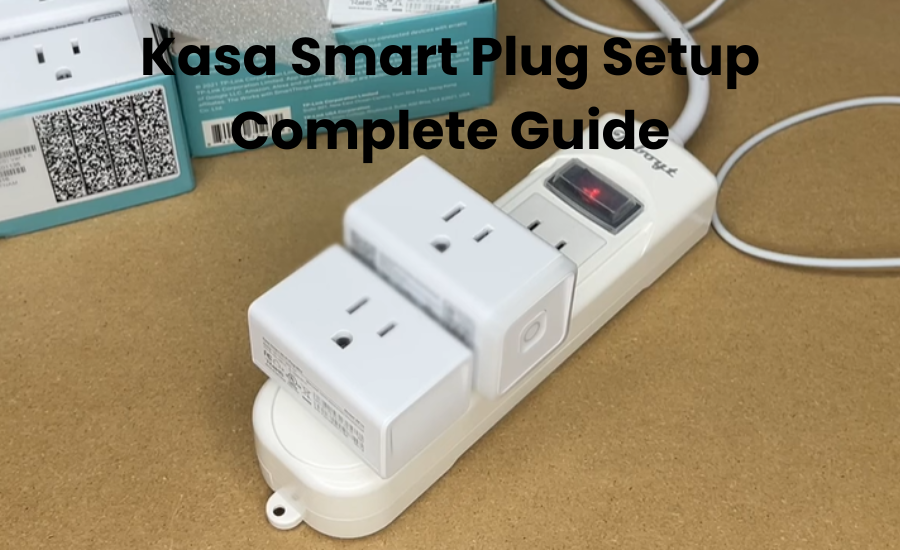
Setting Up A Kasa Smart Plug
To set up your Kasa smart plug, begin by linking it to the Kasa app. Here’s a quick guide:
- Download and Install Kasa App: Head over to your app store and download the Kasa app by TP-Link. Once it’s installed, open it up.
- Create an Account: Sign up for a Kasa account using your email address. It’s quick and straightforward.
- Add Your Device: In the app, tap on the ‘+’ icon in the top-right corner to add a new device. Choose “smart plug lite/mini” as the device type.
- Connect to Wi-Fi: Follow the on-screen instructions to connect your smart plug to your Wi-Fi network. Make sure your plug is blinking rapidly before you do this. If not, just switch it on again.
- Name Your Plug: Once your plug is connected, give it a name in the Kasa app so you can easily identify it.
Once your Kasa smart plug is set up, you can control it right from your smartphone. Just imagine, you can turn your devices on and off with a simple voice command!
Setting up your Kasa Plug with Wi-Fi
make sure your Plug is connected to a working power outlet. Check if the light on the Plug is blinking orange and blue – that means it’s in pairing mode. If not, press the reset button for about 10 to 15 seconds to reset it and put it into pairing mode.
Next, grab your phone and open up the Kasa app. Look for the ‘Add Device’ option or the little plus icon at the top right corner to start adding your Plug.
When prompted, select the type of device you’re setting up, in this case, choose ‘Smart Plugs.’ Then, pick the model of your smart plug – like ‘HS100’ or ‘HS110’ depending on what you have.
Make sure the Wi-Fi LED indicator on the Plug is flashing orange and blue, then tap ‘Next’ in the app to proceed.
Now, you’ll need to hop over to your phone’s settings and connect to the Plug’s hotspot, which usually starts with ‘TP-Link…’. Once connected, go back to the Kasa app and give it a moment to establish the connection.
Enter your Wi-Fi network password when prompted, making sure you’re selecting the 2.4 GHz network. Tap ‘Join’ to continue.
Once everything’s connected, you can give your Plug a name in the app and hit ‘Save’. You can even pick an icon to represent it if you like.
Your Plug is now all set up in the Kasa app. Just tap ‘Sounds Good’ when you see the congratulations message to get back to your home screen.
Now, if you want to control your Plug with Alexa, make sure it’s within Wi-Fi range to avoid any issues with connectivity.
Voice Control Integration
- Prepare Your Voice Assistant Device: Set up your Amazon Alexa or Google Assistant device, ensuring it’s on the same Wi-Fi network as your Kasa Smart Plug. Download the respective app, create an account, and follow manufacturer instructions.
- Enable Kasa Skill or Action: In the Alexa or Google Home app, enable the “Kasa” skill or action. Sign in to your Kasa account to authorize integration.
- Discover Devices: Instruct your voice assistant to discover new devices—say, “Alexa, discover devices,” or “Hey Google, sync my devices.” Your voice assistant will add your Kasa Smart Plug to its device list.
- Assign Device Names: Customize names for easy identification, like “Living Room Lamp.” While optional, naming ensures smoother voice commands.
- Test Voice Commands: Experiment with commands such as “Alexa, turn on the living room lamp” or “Hey Google, turn off the coffee maker” to verify functionality.
- Enjoy Hands-Free Control: Once confirmed, relish hands-free control. Whether cooking, relaxing, or preparing for bed, your voice assistant simplifies managing smart home devices.
By following these concise steps, effortlessly integrate voice control with your Kasa Smart Plug, enhancing your smart home experience.
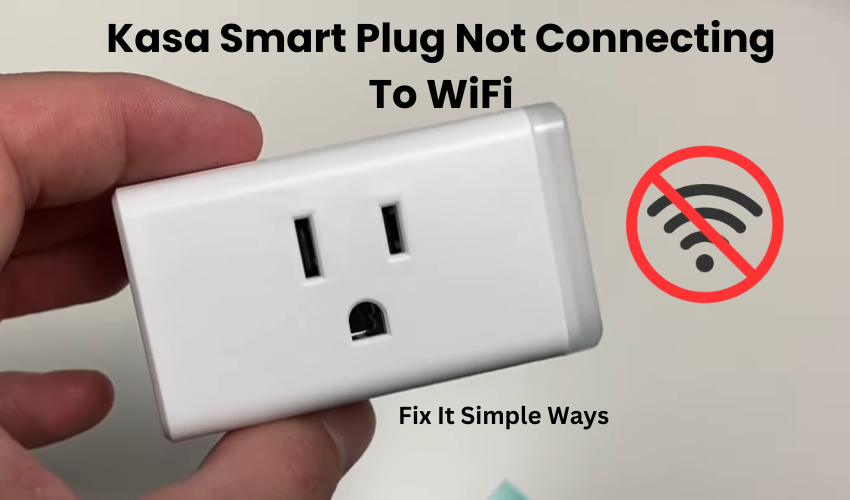
Why isn’t my Kasa connecting to Wi-Fi?
To set up your Kasa smart plugs successfully, it’s crucial to follow a few important steps. First and foremost, ensure that your Wi-Fi network operates on a 2.4 GHz frequency; using a 5 GHz network will result in a failed connection. Additionally, make sure to disable any VPN on your mobile device and verify that it’s connected to the same Wi-Fi network as your plug. It’s also recommended to be near your router during the pairing process for a strong signal.
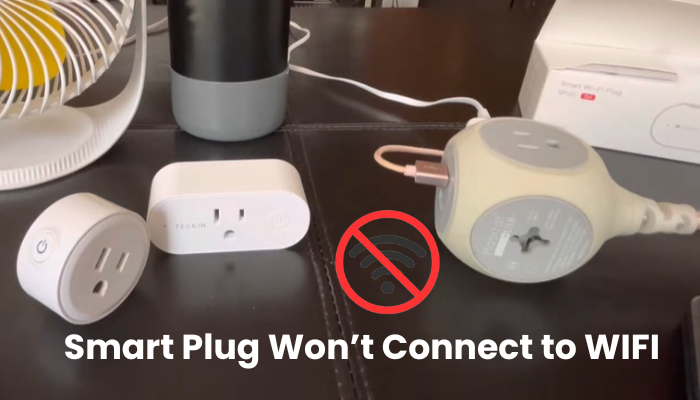
If you’re still experiencing difficulties with pairing, there could be other factors at play within your home setup. Here’s a checklist to troubleshoot and identify potential issues:
- Confirm that your Wi-Fi network is stable and not overcrowded, and enter the correct Wi-Fi password during the plug’s connection.
- Switch off the 5 GHz frequency band temporarily while connecting your device, and then switch it back on afterward.
- Ensure you’re within range of your Wi-Fi network during setup, especially for outdoor plugs.
- Check that your phone is connected to the same network and that Bluetooth is enabled, while also disabling any VPN or adblocker.
- Reset the smart plug before attempting to connect to the network to clear any software glitches.
- Restart all relevant devices including the smart plug, Wi-Fi router, and phone by power cycling the router.
After restarting your devices, retry the setup process following the steps outlined above to establish a successful connection between your Kasa smart plug and Wi-Fi network.
Final Thoughts
The Kasa Smart Plug revolutionizes home automation with its seamless setup and versatile functionalities. By following our comprehensive guide, you can without much of a stretch incorporate the plug into your smart home ecosystem and partake in the comfort of controller and automation.
Despite potential network difficulties, the troubleshooting steps illustrated ensure a smooth encounter. Embrace the straightforwardness of voice control joining to additionally smooth out your daily schedules. Work on your existence with the Kasa Smart Plug and unlock a new level of convenience.