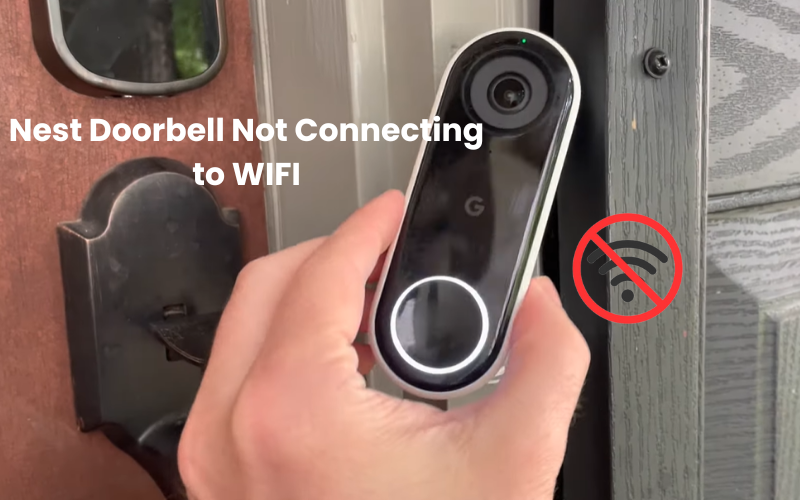
If you have failed to link your Nest doorbell to your home WiFi, you are not alone in this problem. A great deal of clients experience experienced issues interfacing with this issue. This issue has to do with the doorbell ability and having the choice to see live video. There are a few stages you can take to fix the issue and get your Nest Doorbell back online.
Begin by ensuring that your WiFi network is functioning correctly. Make sure your router is turned on and provides a strong network signal where the doorbell is located. If your home network is good, press and hold the reset button on the back of your device for 10 to 15 seconds. Your doorbell requires a reset to reconnect to WiFi.
If your problems persist, consider moving the router closer to the router or using a WiFi extender to boost the signal. If all else fails you can follow some steps below.
Why is My Nest Doorbell Not Connecting to WIFI
If your Nest Doorbell not connecting to WIFI, there could be a variety of reasons causing the issue. Let’s explore some common factors that might be hindering the connection:
- Check Wi-Fi Signal: Ensure the Nest Doorbell is within range of a stable Wi-Fi signal.
- Verify Wi-Fi Credentials: Double-check the SSID and password entered during setup.
- Restart Doorbell: Power cycle the Nest Doorbell by unplugging and reconnecting it.
- Router Reboot: Restart your Wi-Fi router to troubleshoot connectivity issues.
- Check Compatibility: Confirm that the Nest Doorbell is compatible with your Wi-Fi network (2.4 GHz or 5 GHz).
- Firmware Updates: Ensure both the doorbell and router have the latest firmware updates.
- Reset Doorbell: Perform a factory reset on the Nest Doorbell and set it up again.
Nest doorbells work seamlessly with both 2.4 and 5 GHz networks in the United States. However, it’s important to consider the limitations in network range.
The majority of connection issues arise from the specific network and setup you’ve implemented. Make sure to connect the doorbell to your main router, avoiding the use of an extender network.
If you’re using Xfinity, take a look at this community thread for assistance with Nest doorbell connections.
Confirm the router’s connection and settings
Make sure your Nest device is linked to an active Wi-Fi network, ideally operating on the 2.4 GHz frequency band. If your router combines 5 GHz and 2.4 GHz frequencies under one SSID, temporarily deactivate the 5 GHz option in the router’s settings. After a successful connection, you can reactivate the 5 GHz option.
Alternatively, you can set up separate SSIDs for each frequency or simply connect to the 2.4 GHz option. While in your router’s settings, ensure MAC address filtering is off, as it may impede IP address assignment during camera setup.
Keep your Wi-Fi on channels 1, 6, or 11, or manually select a channel if it’s set to auto. Ensure your mobile device is connected to the network where the camera will be added, and consider turning off cellular data.
If you modify settings on the router’s portal, forget the Wi-Fi network on your mobile device, restart both devices and reconnect to the updated SSID. Before reconnecting, confirm your internet connection is operational.
Power Cycle the Nest Doorbell
To power cycle the Nest Doorbell, follow these simple steps:
- Locate the power source for your Nest Doorbell.
- Disconnect the Nest Doorbell from its power source.
- Wait for at least 10 – 20 seconds to ensure a complete power cycle.
- Reconnect the Nest Doorbell to its power source.
- Allow the device to restart and initialize.
This brief interruption in power often resolves temporary glitches, helping your Nest Doorbell establish a fresh and stable connection to your WIFI network.
Move Closer to Your Router
It’s always a good idea to start setting up your device closer to the main router and then relocate it to its final installation spot. This ensures major areas of strength for a, which is essential for synchronizing the gadget with cloud servers and making it ready. So, how far are you from your Wi-Fi source?
5 GHz networks provide faster speeds but have a limited range, whereas 2.4 GHz networks offer lower speeds but cover a broader area. If your installation point is 50 feet or more away from the router, opting for the 2.4 GHz network is a better choice.
Another choice is to consider installing a Wi-Fi extender or utilizing a lattice network geography to grow the range of your network. This can assist with ensuring a dependable connection throughout your space.
Reset Your Nest Doorbell
If you’re struggling to connect your Nest Doorbell to your Wi-Fi, a reset could be the fix. Follow these steps:
- Find the reset pinhole on the back of your Nest Doorbell.
- Place a paper clip or a similar tool into the reset pinhole
- Hold the button down for approximately 10 – 20 seconds.
- Release the button when the doorbell’s front light turns yellow.
- Allow the doorbell to restart and reconnect to your Wi-Fi.
After resetting, remember to set up your Nest Doorbell again in the Nest app, having your Wi-Fi network name and password ready.
Be aware that resetting erases all settings and customizations. If unsure, try troubleshooting like checking Wi-Fi and router settings before opting for a reset.
Router Reset and Reconfiguration
Performing a router reset and reconfiguration involves a few key steps:
- Find the router’s reset button, usually a small pinhole.
- Press and hold the reset button for about 10-15 seconds.
- Release the button when the router lights flash, indicating a reset.
- Wait for the router to fully restart.
- Access the router’s configuration page using a web browser and the provided IP address.
- Enter your router’s login credentials (often found on the router or its manual).
- Navigate to the wireless settings and ensure they match your Nest Doorbell requirements.
- Save changes and reconnect devices to the WIFI network as needed.
Remember, a router reset temporarily disconnects all devices, so be prepared to reconnect them post-reset.
Factory Reset the Nest Doorbell
A factory reset on the Nest Doorbell involves pressing and holding the reset button for 10-15 seconds. This process restores the device to its original settings, resolving persistent connectivity issues. To perform a factory reset on the Nest Doorbell:
- Locate the reset button on the smart mobile device.
- Press and hold the button for approximately 10-15 seconds.
- Release the button when the LED indicator blinks, signaling the reset.
- Wait for the Nest Doorbell to complete the reset process.
- Once reset, the device is restored to its factory settings.
- Reconnect the Nest Doorbell to your account and follow the setup instructions.
This step erases any customized configurations, addressing persistent connectivity issues by providing a clean slate for the Nest Doorbell.
Firmware Updates
To update firmware on your Nest Doorbell:
- Access the Nest app on your mobile device.
- Go to the settings of your Nest Doorbell device.
- Check for available firmware updates.
- If an update is found, follow the on-screen prompts to initiate the installation.
- Allow the update to complete; this may take a few minutes.
- Ensure your router’s firmware is also up-to-date.
Contacting Nest Support
When you’re grappling with a malfunctioning device, relying on Google support proves invaluable. If your doorbell stubbornly refuses to come back online despite your best efforts, it’s high time to connect with the Google support team.
This becomes even more crucial if your device is still within the warranty period; in such cases, they should dispatch a replacement doorbell, sparing you from unnecessary hassle.
Final Thoughts
If you’re having trouble getting your Nest Doorbell not connecting to WIFI, it can be pretty annoying.
Make sure to go through your router’s settings, check that you’re using the right frequency band, turn off MAC address filtering, and pick the correct Wi-Fi security encryption.
Just stick with it and go through these steps carefully, and you’ll boost the odds of making a solid and dependable connection between your Nest doorbell and your Wi-Fi.
Frequently Asked Questions:
Q: How do I get my Nest doorbell back on Wi-Fi?
A: To reconnect your Nest Doorbell to Wi-Fi, start by ensuring your router settings are correct. Power cycle the doorbell, move it closer to the router, and if issues persist, perform a factory reset. Reconfigure the device, following setup instructions in the Nest app.
Q: Why is my Nest camera not finding my Wi-Fi network?
A: Check your router settings, ensure the camera is within a reasonable distance, and power cycle it. If the issue persists, try a router reset and reconfiguration. Additionally, update the camera’s firmware via the Nest app for optimal performance.
Q: How do I fix Google Nest WIFI offline?
A: Troubleshoot by confirming router connectivity, power cycling devices, and checking for firmware updates. If the issue persists, consider a router reset and reconfiguration. Contact Google Nest Support for personalized assistance in resolving the offline status.