Imagine you live in your own home or you lease a rental property. In this situation, it becomes very important to prioritize securing you and your residence against potential threats. There are various types of home security systems readily available in the market and one notable option is the SimpliSafe security system.
SimpliSafe boasts a wide range of compatibility with the system that surrounds a base station. Can almost be referred to as the central siren or brain of the entire setup. The service will trigger an alarm signal for you when the service is activated and any device you are monitoring is connected to the security system.
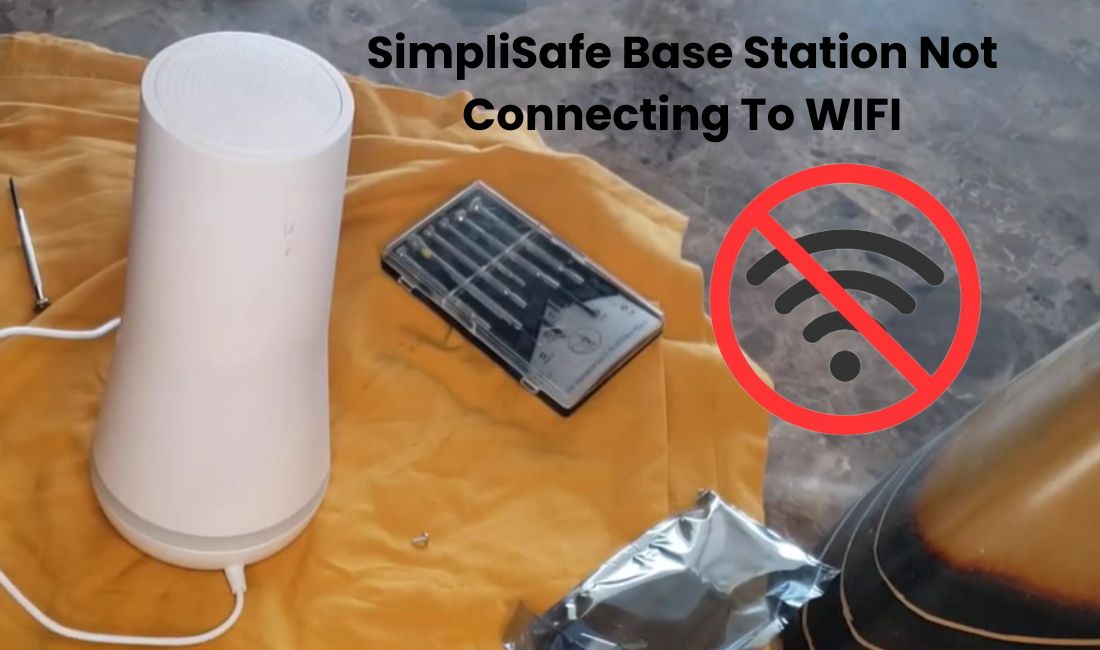
The primary function of the base station is to connect the devices integrated into the SimpliSafe alarm monitoring system. However, there were instances where the base station was not connected to the WiFi network. Many factors can contribute to this problem. Let’s explore each possible cause individually.
Why is my SimpliSafe Base Station not Connecting To WIFI?
If you’re having trouble connecting your SimpliSafe Base Station to a 5 GHz network, make sure to use a compatible 2.4 GHz Wi-Fi network during the setup. It’s advisable to utilize the keypad instead of the app, especially during the initial setup process. If you encounter connection issues, consider power cycling or resetting the base station and then reconnecting.
Enhancing the security and reliability of your SS system involves connecting it to your Wi-Fi network. Various factors may prevent the base station from connecting, including:
- Opting for a 5 GHz Wi-Fi network over the compatible 2.4 GHz network.
- Router settings that block the addition of new devices.
- Low bandwidth or insufficient Wi-Fi signal strength.
- Running VPN or Ad Guard during the app setup.
- Firmware issues that hinder Wi-Fi connection.
- Concealed or extended Wi-Fi network identifier (SSID).
- A known bug where the base station won’t connect after upgrading to the 4G module.
If your base station was working and then suddenly won’t connect, try power cycling:
- Disconnect the power cable and remove one battery.
- Wait for 3 minutes for the base to fully discharge.
- Reconnect the base station to the power cable with one battery missing.
- Once the system boots up, the “no Wi-Fi” problem should be resolved.
- Reassemble the device by inserting the missing battery, unplugging the power cable, screwing back the battery cover, and plugging the power cable back in.
How do I connect my SimpliSafe Base Station to the Internet?
To troubleshoot issues with your SimpliSafe Gen3 system’s Wi-Fi connectivity, it’s crucial to understand the connection between the base station and Wi-Fi. If you’re using a mobile phone for connection, access the main settings menu. Choose the 2.4 GHz Wi-Fi network if there are connection problems, and employ a different app for WiFi troubleshooting.
For connecting your SimpliSafe Gen3 system to Wi-Fi, follow these steps:
Via Mobile App:
- Open the app menu.
- Select “My System.”
- Go to “General Settings.”
- Click on “Wi-Fi Network.”
- Your mobile device will scan available networks.
- Choose the Wi-Fi network.
- Enter your Wi-Fi password.
- Connect to your mobile device.
Via Keypad:
- Enter the 4-digit MPIN on the keypad.
- Navigate through system settings.
- Look for the Wi-Fi network and select it.
- Scan available network devices, and locate your desired network.
- Enter the Wi-Fi password.
By following these steps, you can easily establish a connection between the base station and Wi-Fi for seamless monitoring of your entire home.
Test Your Internet Connectivity
Check your network by linking a phone or tablet and attempting to browse the internet. If the signal is weak or disconnected, troubleshoot the issue.
For productive synchronizing with waiters, smart gadgets depend on a vigorous and stable internet connection, making a strong home internet critical for a fruitful smart home.
After modifying network settings like the Wi-Fi password or security type, ensure you update these on all connected devices. Once changes are applied to your router admin, remove the device from the app, reset if needed, and reconnect to the updated network.
Keep in mind that the SimpliSafe base and cameras only work with a 2.4 GHz network. If your router broadcasts both 2.4 and 5 GHz bands under a single SSID, separate them into two networks to prevent conflicts and connect devices to the compatible frequency.
Channel interference, often a cause of connectivity issues, can result from electronic devices like remotes, baby monitors, or Wi-Fi jammers. Set your router’s Wi-Fi network channel to (1, 6, 11) in the admin panel.
Avoid hidden Wi-Fi networks, ensuring the SSID and password are within 31 characters. For network problems, power cycling the router and device often proves effective. Unplug the router, wait 1 minute, and reconnect to refresh and reinitialize the network connection.
Restart your devices
If you’re experiencing connectivity problems, a straightforward solution might be to give your devices a quick restart. This process, often referred to as power cycling, can effectively address temporary configuration errors or corrupted files that might be hindering your device’s ability to connect.
To resolve the issue, try power cycling the base station, network router, keypad, and the SimpliSafe app. This not only refreshes your network but also re-establishes connections for all your devices.
Here’s how you can do it: unplug the device from the power source, wait for about 1 minute, and then reconnect it to successfully reboot. You can find detailed instructions for power cycling the SS base station in the first section of the provided documentation.
Setup Wi-Fi Network 2.4GHz
When it comes to connecting Wi-Fi to your PlayStation, a common issue arises if your router operates solely on a 2.4 GHz network. If, by chance, your Wi-Fi router functions on a 5 GHz network, it’s crucial not to connect your device to the router. The 2.4 gigahertz Wi-Fi band is preferred for its ability to establish connections over longer distances, even when obstacles like walls or floors are present. Many individuals may not be familiar with how to check or switch the Wi-Fi band on their router. To assist you, here are step-by-step instructions on checking the Wi-Fi band:
- Open your web browser on either your computer or phone.
- Enter the router’s IP address in the browser’s search section. Refer to the router’s manual if you’re unsure where to find the IP address.
- Upon entering the correct IP address, the web will redirect you to the router’s page.
- Input the username (usually “Admin”) and the Wi-Fi network password (refer to the router manual) to sign in.
- Once on the web page, locate the network settings option, typically found at the top of the home page or in the menu bar.
- In the wireless network settings, look for the wireless channel and select the option displaying the 2.4 gigahertz Wi-Fi band range. Save the changes, and you’re ready to use your device.
Move the Base station and close the router
To ensure a robust Wi-Fi connection for your SS base station, it’s essential to position it within the range of your network. Verify that the chosen setup location receives a strong and stable signal.
For optimal performance, consider relocating the base closer to the router. However, be cautious not to place it directly adjacent to the router to prevent interference. During the initial setup phase, it’s advisable to have all your SimpliSafe devices and the router in the same room.
If you plan to place the base in a different room, conduct a signal strength test to preempt any potential offline issues. Alternatively, you may explore upgrading to a mesh network topology or investing in a network extender to evenly extend your Wi-Fi signal coverage.
Set up with a keypad
Setting up your SimpliSafe system is a breeze with both app and keypad options, but kicking things off with the keypad is a smart move. First things first, ensure your base station is good to go, and then seamlessly blend it with the app while adding extra devices.
Here’s a quick guide on using the keypad:
- Unveil your keypad and yank out the tab if you haven’t already.
- Hit the Menu button and input your 4-digit Master PIN as prompted.
- Navigate to the Wi-Fi setup option and select it. Watch as the keypad scouts and displays available networks.
- Pick your desired network using the right rocker, punch in the correct password (stick to that 2.4 GHz network), and let the base station establish a connection. Keep an eye on the keypad for the amber ring during the connection phase.
- The keypad should show “off” in a circle. Hold off on adding sensors and cameras through the app until the prompt after you confirm you’re done.
Now that your base station is cozy with your network, let’s sync it with the app.
To refresh the app, gracefully exit (not just close) and log out. Reopen the app, log back in, and look for either “Off/Home/Away” or a welcoming message confirming your active system monitoring. If prompted to “finish setup now,” simply follow the steps. If you see “Just got your package?” choose “Already Installed” to conclude the setup. Lastly, top it off by adding the remaining devices via either the app or the trusty keypad.
Check your SSID is Hidden
Many people prefer to keep their SSD hidden to safeguard their Wi-Fi network from unauthorized access. However, when it comes to connecting the base station to Wi-Fi, it might be necessary to locate the SSID. Here’s a guide to ensure that the SSID becomes visible:
- Start by ensuring that your phone is properly connected to the router associated with the base station.
- Enter the IP address of the router into your web browser. If you’re unsure of the IP address, you can find it online, in the manual, or on the router itself.
- Once you have the IP address, enter the username and password in the web browser to access the router’s information.
- Navigate to the advanced settings option, where you’ll find the Wi-Fi security settings. Locate the SSID option and make sure it’s set to be visible.
Final Thoughts
The SimpliSafe base station not connecting to WiFi for your security may seem intimidating to you. But you can work on each step forward. Embrace your work cycle and ensure the security of your home.
Keep in mind, that a specialized troubleshooting venture reinforces your framework as well as changes you into a smarter guardian of your smart home. You stay versatile and enhance a consistent network for your SimpliSafe security.


