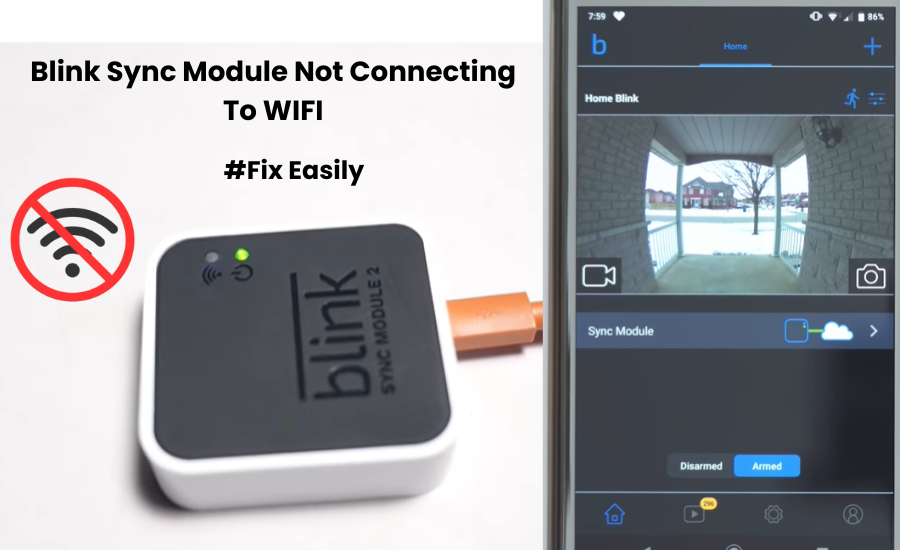
The Blink Sync module serves as the go-between for your cameras and the Blink Sync Module Not Connecting To WIFI, essentially acting as their communication hub. Sync module 2, in particular, allows for USB local storage and supports a substantial 256 GB capacity, providing ample space for recordings. However, to make all this functionality possible, the sync module must establish a connection with your Wi-Fi network. So, what might be the issue if your blink sync module isn’t connecting to Wi-Fi?
For optimal performance, the blink sync module is designed to connect to a 2.4 GHz Wi-Fi network, and it works best when positioned near your router to ensure a strong signal. During the arrangement interaction, it’s vital to confirm that your mobile device is associated with a similar Wi-Fi network and ensure that any VPN is disabled.
Let’s get your blink sync module connected and working seamlessly!
Why is my Blink Sync Module Not Connecting To WIFI
The Blink sync module might be refusing to connect to your network for a few reasons. It could be due to the incompatible 5 GHz band, having a VPN active on your mobile device, or your router blocking new device additions. To ensure a successful connection, make sure you’re using a 2.4 GHz Wi-Fi network and have turned off VPN and ad guard on your mobile device.
Just like any other smart device, the Blink module relies on a stable internet connection during pairing. A variety of factors may be hindering the sync module connection:
- Weak internet connection.
- Setting up on a 5 GHz Wi-Fi band instead of the compatible 2.4 GHz frequency.
- Unusual characters in your Wi-Fi network name (SSID) and password.
- Running VPN or ad blocker software on your mobile device.
- Router firewall or settings blocking new devices (check the “Allow Pings from WAN” option).
- Insufficient electrical power resulting from a power cord or outlet disruption.
Identifying the root cause makes fixing the connection issue easier. Start by power cycling your Blink and network devices to refresh the connection, as a network error could be the culprit.
Utilize the 2.4GHz wireless frequency band
The newest router models are capable of transmitting signals on both the 2.4 GHz and 5 GHz frequency bands. The 5 GHz band provides higher speed and greater bandwidth, but it has a shorter network range. On the other hand, the 2.4 GHz band offers less speed and bandwidth but has a broader network coverage.
When it comes to Blink devices, they can only connect to the 2.4 GHz frequency band of your router. Therefore, if your router is set to broadcast both frequency bands, it’s advisable to disable the 5 GHz option in your router settings while setting up the sync module. Once the sync module is successfully connected, you can re-enable the 5 GHz Wi-Fi SSID.
As an alternative, you can choose to configure separate SSIDs for the 2.4 GHz and 5 GHz networks. This involves assigning distinct Wi-Fi names and passwords to each band. When pairing your Blink and other smart home devices, make sure to use the 2.4 GHz option for optimal connectivity.
Verify the status of your Wi-Fi network
- Signal Strength: Begin by checking the signal strength in the area where the Blink Sync Module is located. Weak signals can lead to connectivity issues. Use a smartphone or any device with a Wi-Fi signal strength indicator to assess the strength at the Sync Module’s installation site. If the signal is weak, consider repositioning the module or using a Wi-Fi extender to enhance coverage.
- Device Connectivity: Confirm whether other devices in your home can connect to the Wi-Fi network without any problems. This step helps determine whether the issue lies with the overall network stability or is specific to the Blink Sync Module. If other devices are experiencing connectivity issues, you may need to troubleshoot your entire network.
- Network Interference: Evaluate the presence of potential sources of interference. Other electronic devices, neighboring Wi-Fi networks, or even physical obstacles can disrupt signals. Ensure the Sync Module is placed away from electronic appliances like microwaves and cordless phones. Additionally, minimize interference from neighboring networks by selecting the least crowded Wi-Fi channel in your router settings.
- Router Placement: Assess the placement of your router. The router’s location can significantly impact signal distribution. Ideally, place the router in a central location to ensure more even coverage throughout your home. Avoid placing it in enclosed spaces or near thick walls, as these can impede signal propagation.
Bring Sync Module closer to Router
The effectiveness and reliability of your connection depend on the signal strength between the Sync Module and the Router.
If you position the Sync Module too far from the Router Coverage, you might encounter issues with your Network and cameras, such as the Blink Cam failing to record at night.
In general, the closer the Sync Module is to the router, the better the connection. However, be cautious and consider a few factors that could impact the network connection.
When relocating the Sync Module, always check its connection strength with all your existing Blink Cameras. Additionally, avoid placing the Sync Module near other wirelessly communicating devices, like smart home appliances and gaming consoles, as they can interfere with the connection.
Restart the router to power cycle
Just like how we gave the Sync Module a little reboot, let’s do the same for the Router.
If you’re noticing some shakiness in the Network, a quick power cycle for the Router might bring it back to its reliable self.
Here’s what you need to do:
- Give the Router a break by unplugging it from power, and letting it chill for a few seconds.
- Hold down the Power Button on the Router for a few seconds. Do this a couple of times, just to be thorough.
- Plug the power supply back in and switch ON the Router.
Now, run the speed test on the Network once more. If everything feels steady, go ahead and reconnect the Sync Module.
Modify SSID and password settings
In the past, the earlier versions of Sync Modules, particularly the Gen 1 Sync Modules, had trouble connecting to networks that had special characters in either their SSID or password.
Nowadays, it’s recommended to beef up your passwords with special characters for better security. However, a few years ago, electronic devices were crafted to work with basic passwords and uninspiring names.
If you’re facing issues due to this, a simple solution is to reconfigure your network credentials. Here’s a step-by-step guide on how to change your Network’s SSID and password:
- Access the Portal interface of your Router by using the associated app or typing the Router’s IP address into a browser.
- Log in with your credentials to enter the portal.
- Open the Wireless/Settings menu.
- Head to the 2.4 GHz band.
- Modify the SSID and Password to something less complex.
- Save/Apply the changes to confirm.
Exit the portal, refresh the Router, and then connect the Sync Module to the Network. This should resolve the issue.
Change Network Channels
To address this problem, you can consider adjusting the band channels on your network.
WiFi bands operate on various channels that facilitate the smooth exchange of data between client devices and the internet service provider (ISP). By default, your network may automatically choose the channels, but this automated selection can sometimes lead to communication issues.
If the Sync Module is having trouble connecting to the network, attempting a channel switch might help. Here’s a simple guide:
- First, open and log into your router portal.
- Locate the Wireless tab; on some router brands, you might find it within the Advanced Settings tab.
- Navigate to the Channels section for the 2.4 GHz band.
- Toggle the setting from “Auto” to either the 1st, 6th, or 11th channel.
- Save or apply the changes and then exit the router portal.
Give this a try and see if it improves the connection with the Sync Module.
Disable VPN, and Router Firewall
When you’re using a VPN and AdGuard, they cloak your mobile device’s IP address, essentially putting it on a different network than your router’s local one. This means it won’t communicate with other devices on your network. So, if you’re setting up smart devices, remember to disable your VPN and ad blocker.
Additionally, ensure your router is open to new devices. For most routers, you might find MAC address filtering in the settings. For Xfinity, log in and set the IPV4 firewall to low. If you’re using Netgear’s Nighthawk, check the Device Manager tab, ensure the Sync module is on, reboot your router, and then try reconnecting your sync module. Adjust these settings as needed based on your router model.
Reset and Reconnect the Sync Module
Performing a factory reset on a Blink Sync module erases all configurations, restoring default settings. Following this, you’ll need to link it to your network and sync compatible devices.
Resetting is essential to restore the original firmware, eliminating potential issues caused by corrupt config files hindering network connections.
To reset the Blink Sync module, locate the reset button, then use a slender pin to press and hold it for 10-20 seconds until the LED turns red. Once reset, the module enters pairing mode, ready for network connection.
To reconnect, open the app, go to Add New Device (Sync Module), scan the QR code, add it to your system, discover devices, input your 2.4 GHz network details, and allow the firmware update.
If the reset doesn’t resolve connectivity problems, force a firmware reset:
- Disconnect the Sync module from the power source.
- Hold the reset button while unplugged.
- As you keep the button pressed, insert the power cord.
- Release the reset button when the red light appears.
- Wait for blinking blue and solid green lights, then re-add it to the app.
Try these steps, and share which solution worked for you.
Final Thoughts
Dealing with network problems on the Sync Module can be quite time-consuming to troubleshoot. Given the multitude of potential issues, pinpointing the exact cause can be a challenging task.
No matter what’s causing the problem, the solutions provided here should guide you in resolving the Sync Module issue. If the issue continues, it’s prudent to contact Blink support for extra help.
In the rare event that the Sync Module is physically damaged, consider initiating a return merchandise authorization (RMA) process to obtain a replacement unit.
Frequently Asked Questions:
Q: Can I connect the Blink camera without the Sync Module?
A: No, the Blink camera relies on the Sync Module for connectivity. The Sync Module goes about as an extension between the Blink camera and your Wi-Fi network, working with correspondence and empowering elements like remote viewing and alerts. Without the Sync Module, the Blink camera cannot establish a direct connection to Wi-Fi.
Q: Does the Blink camera connect to Wi-Fi or Sync Module?
A: The Blink camera connects to the Sync Module, which, in turn, connects to your Wi-Fi network. The Sync Module serves as a mediator gadget that deals with the communication between your Blink cameras and the Wi-Fi network. It stores recorded footage, oversees settings, and works with remote admittance to the cameras through the Blink app.