The Gosund Smart Plug is designed to comfort you, assisting you with easily dealing with your associated devices using your mobile phone or voice commands. Like many, I often find myself forgetting to turn off lights and devices to get rid of a problem I wanted to solve with the same product.
My choice to put resources into the Gosund Smart Plug was a distinct advantage. Its user-friendly app lets you control multiple smart lights in your home simultaneously with just one tap and voice commands, compatible with Alexa and Google Home.
However, I encountered a few hiccups during the account registration and setup process. I am determined to solve a problem that has created articles and forms for quick and easy ways to set up the Gosund Smart Plug. After overcoming the initial challenges my setup turned out to be a breeze.
Ensure a reliable internet connection to facilitate a seamless setup. Download and install the Gosund app, create an account, and plug in the device. With Alexa or Google Home, you get seamless control over the smart plug. I will walk you through the Gosund Smart Plug setup process in this article.
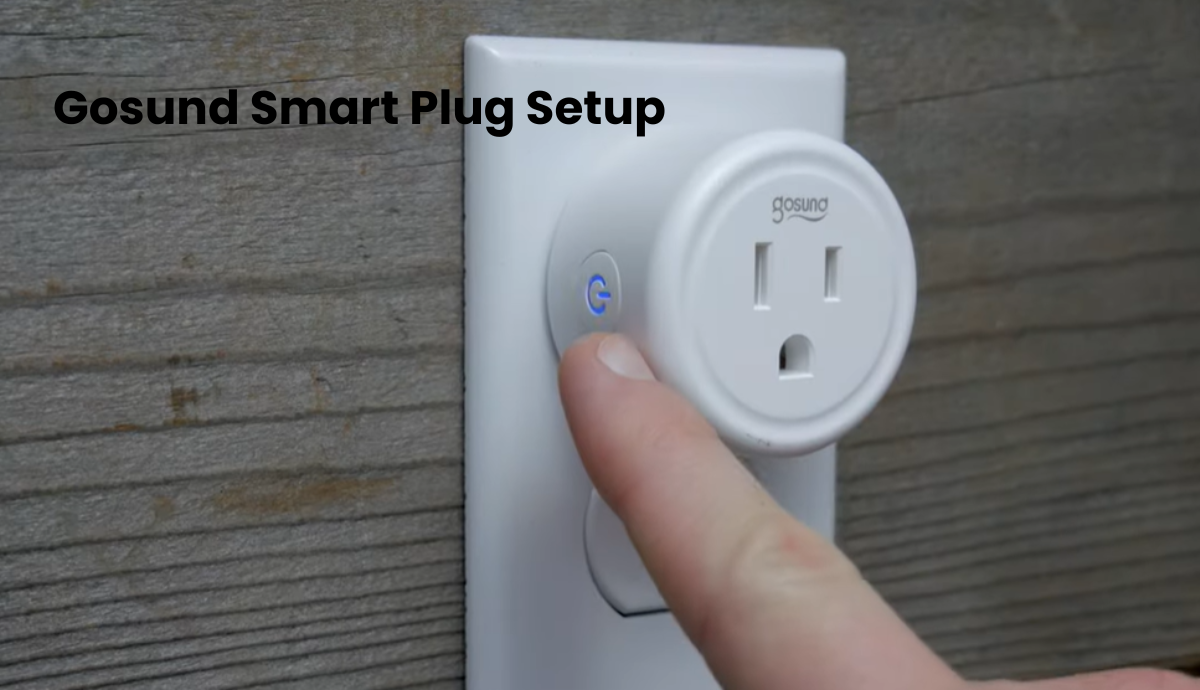
How To Setup Gosund Smart Plug
To get your Gosund smart plug connected to your home Wi-Fi, begin by downloading the Gosund app on your mobile device and creating an account. Afterward, power up the plug and perform a reset to activate pairing mode. Open the Gosund app and add the plug to your network.
Gosund smart plugs are compatible with Tuya-based apps, giving you flexibility during setup. You can connect your plug with the Gosund, Smart Life, or Tuya apps. I’ve enjoyed using the Gosund and Smart Life apps.
For those integrated into a Smart Life-based smart home, adding the plug is straightforward. Follow these steps to integrate it seamlessly into the Smart Life app. If you’re not using a Smart Life-based system, use the Gosund app, available on Android and iOS stores.
Before connecting your plug to Wi-Fi, consider the following:
- Gosund smart plugs work exclusively with a 2.4 GHz Wi-Fi network.
- Ensure that your mobile device is linked to an identical Wi-Fi network.
- Disable any active VPN or Ad guard on your device.
- Initiate the setup near your router and then move the plug to its final location.
- Grant necessary permissions (location, Bluetooth, and network) to the Gosund app.
- Confirm the plug is in pairing mode – indicated by a flashing blue LED.
Now, with these prerequisites met, we can proceed with the initial setup process.
Troubleshooting Guides Gosund Smart Plug setup
No worries if you encounter any problems while setting up your Gosund Smart Plug – solutions are usually pretty straightforward:
If the smart plug’s indicator isn’t flashing quickly upon initial setup, just press and hold the On/Off button for 5-10 seconds. Check if it starts flashing afterward.
In case your smart device struggles to connect to WiFi, perform a quick reset by pressing and holding the On/Off button for 5-10 seconds. Alternatively, switch from easy mode to AP mode for better compatibility. You can do this directly within the Gosund app.
Keep in mind that the smart plug exclusively works with 2.4 GHz WiFi networks. If your router has dual-band capabilities (both 2.4 and 5 GHz), make sure to select the 2.4 GHz network during the setup process.
When initiating the setup for your plug, try to position it as close to your WiFi router as possible. After the initial setup, feel free to relocate it anywhere within your house.
Check the Router Connection
- Proximity Matters: Place your Gosund Smart Plug near your router. This diminishes the probability of sign obstruction and ensures serious areas of strength for a steady association during the arrangement cycle.
- Wi-Fi Signal Strength: Confirm that your Wi-Fi signal is robust in the intended installation area. Weak signals can lead to network issues, influencing the general performance of your Gosund Smart Plug.
- Router Compatibility Check: Verify the compatibility of your router with the Gosund Smart Plug. Consult the user manual or check Gosund’s official website for a list of compatible routers. This step guarantees seamless communication between devices.
- 2.4GHz Network Connection: Gosund Smart Plugs typically connect to 2.4GHz Wi-Fi networks. Ensure that your router is broadcasting a 2.4GHz signal, as some routers offer both 2.4GHz and 5GHz bands. Adjust router settings if necessary to match the required frequency.
- Network Security Measures: your Wi-Fi network with a password. Connecting the Gosund Smart Plug to a secret key-safeguarded network adds a layer of safety, forestalling unapproved access and ensuring a protected association for your smart home device.
Connection Problems
If you experience intermittent connectivity or sudden disconnections, investigate the stability of your Wi-Fi signal. Factors such as interference from other electronic devices or obstacles like thick walls can disrupt the signal. Relocate the Gosund Smart Plug or adjust the router position to minimize signal instability.
In instances where multiple devices on your network share the same IP address, conflicts may arise, affecting the connection of your Gosund Smart Plug. Check your router settings to ensure every gadget has an exceptional IP address, settling possible contentions and advancing a smoother connection.
Firewalls and security software on your network may inadvertently block the communication between your Gosund Smart Plug and the router. Temporarily disable such software during the setup process and, once completed, re-enable it with the smart plug as an approved device to prevent any future connectivity issues.
Connecting Gosund Plug to Wi-Fi
To get your Gosund plug up and running smoothly, start by connecting it to a functional power outlet and allowing it to initiate. Once connected, the plug will power up, entering pairing mode with a blinking blue LED indicator. In case it doesn’t simply reset the plug by holding down the power button for 5-10 seconds.
Gosund plugs come with two pairing modes: AP and EZ modes. The default is the EZ mode, characterized by a rapidly flashing LED. If you prefer AP mode, double-reset the plug, and the LED will blink slowly, indicating AP pairing mode.
To integrate the plug into your system through the Gosund app, follow these steps:
- Open the Gosund app on your smart mobile device.
- Tap the “+” icon to add a new device.
- Select the Device category on the left and choose the “Electrician” option.
- Pick your plug type, selecting “Socket (Wi-Fi)” for an indoor Wi-Fi plug.
- Connect to your 2.4 GHz Wi-Fi network, input the correct password, and tap Next.
- Verify that your device is in the pairing mode. Hit the confirm button if the LED blinks, or follow in-app instructions to reset the device if needed.
- Optionally, choose the pairing mode (Top right) – either EZ or AP.
- Let the app discover, register, and initialize your smart device.
- Name your device with an English name or typical characters.
- Customize and control the device directly from the home screen. Test the device through the app, and voila! Your Gosund plug is successfully connected to your Wi-Fi network.
Syncing with Smart Home Platforms
Syncing your Gosund Smart Plug with smart home platforms like Amazon Alexa or Google Home is seamless. Navigate to the respective platform’s app, locate the device pairing section, and follow the intuitive setup process.
Once synchronized, you can effortlessly control your smart plug through voice commands or the platform’s app. This reconciliation improves comfort as well as extends the abilities of your Gosund Smart Plug inside your more extensive smart home environment.
Enjoy the synergy of a connected home where your devices work in harmony with just a simple command or tap.
Linking to Google Home
Linking your Gosund Smart Plug with Google Home is a swift process.
- Access Google Home App: To open the Google Home app on your mobile device. If it’s not already installed, acquire it by downloading from the App Store (for iOS) or Google Play Store (for Android).
- Initiate Device Setup: Tap the “+” icon in the top-left corner of the app to add a new device. Choose “Set up device” and then select “Works with Google.”
- Locate Gosund in Compatible Devices: In the list of compatible devices, find and select Gosund. This will prompt you to log in to your Gosund account.
- Authorize Connection: Log in using your Gosund credentials and authorize the connection between Gosund and Google Home. Follow any on-screen instructions to complete the linking process.
- Assign Room and Customize: Once linked, assign your Gosund Smart Plug to a specific room within the Google Home app. Customize settings, such as assigning a nickname for easier voice commands.
- Voice Control Enabled: Your Gosund Smart Plug is now linked to Google Home. Enjoy the convenience of voice-activated control by using commands like “Hey Google, turn on [device name].”
Firmware Updates
Ensuring your Gosund Smart Plug’s optimal performance involves keeping its firmware up to date.
- Access Gosund App or Website: Open the Gosund app on your mobile device or visit the official Gosund website using a web browser.
- Check for Firmware Updates: Navigate to the settings or device management section within the app. Search for a menu item associated with firmware upgrades. On the website, locate the support or downloads section for firmware updates.
- Follow Update Instructions: If a firmware update is available, follow the provided instructions carefully. This may involve downloading the update file, confirming the update on the app, or initiating the process through the device settings.
- Ensure Stable Connection: Before initiating the update, ensure that your Gosund Smart Plug has a stable connection to the Wi-Fi network. A stable connection minimizes the risk of interruptions during the update process.
- Benefits of Updates: Firmware updates often bring improvements, new features, bug fixes, and enhanced security measures. Keeping your Gosund Smart Plug’s firmware up to date ensures optimal performance and compatibility with the latest technologies.
- Schedule Regular Checks: Make it a habit to periodically check for firmware updates. Set a timetable, maybe monthly, to ensure that your smart plug is continuously running the most recent software, giving a consistent and secure client experience.
Final Thoughts
Mastering the setup of your Gosund Smart Plug opens doors to a smarter, more connected living space. From troubleshooting switch connections to flawlessly coordinating with smart home stages, this guide enables you to explore the arrangement interaction easily.
Whether you’re linking with Google Home or ensuring timely firmware updates, each step enhances the functionality of your smart plug.
Embrace the convenience of voice commands and enjoy a seamlessly automated home. Your excursion into the universe of brilliant living starts with dominating the arrangement of the setup of the Gosund Smart Plug.