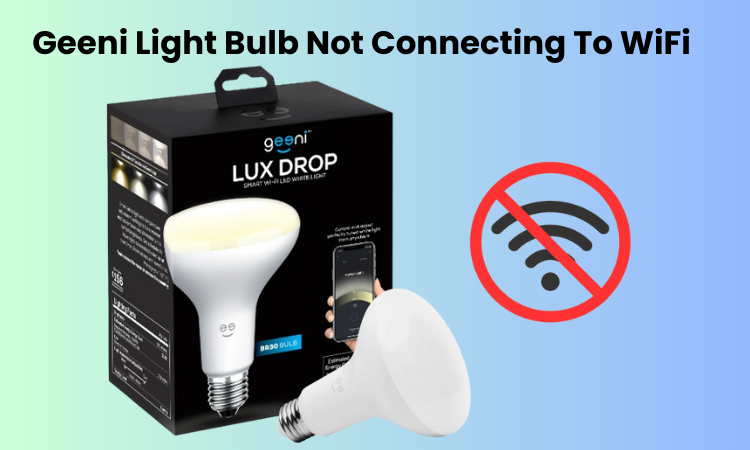
Failed to link your Geeni Light Bulb not connecting to WiFi? Many users encountered this problem during this process, you are not alone. When your guy refuses to connect the bulbs, it may seem annoying to you straight away. You can solve this problem by reading my article.
First, you should check your WiFi password input two to three times during setup. If unsure, reset your router and try reconnecting. Note that the Geeni bulb works with 2.4 GHz WiFi, not 5 GHz. If your problem persists, initiate a bulb reset with three quick on or off cycles.
Connecting Geeni light bulbs to your WiFi can be a challenge, but with the steps above you’ll likely have your bulbs glowing in no time.
Why Is My Geeni Light Blub Not Connecting To WiFi
If you’re having trouble connecting your Geeni lights to your home network, make sure your router is set to broadcast a 2.4 GHz Wi-Fi network instead of the 5 GHz frequency band. Ensure the Geeni light is within your network’s range during setup.
For a seamless Wi-Fi connection, consider the following:
- Confirm you have a stable and uncrowned Wi-Fi network. Ensure the accurate Wi-Fi password is employed during the bulb connection process.
- Connect to the 2.4 GHz frequency band. Temporarily disable the 5 GHz band while connecting your light and then re-enable it.
- Ensure you are within the Wi-Fi range when setting up your bulb. Keep the bulb close to your router during the Geeni light setup.
- Grant the necessary location and Bluetooth permissions.
- Reset the bulb before connecting to the network to clear any software glitches.
- Clear the Geeni App cache by navigating to your phone settings > Apps > Geeni app > Storage > Clear cache.
- Update your Geeni app software to the latest version. If problems persist, uninstall and reinstall the application before connecting the Geeni lights.
To troubleshoot further, restart all your devices: the smart bulb, Wi-Fi router, and your phone. Power cycle your router by unplugging it, waiting about 1-3 minutes, and then reconnecting it. Once the router restarts and indicates a connection to the internet, attempt to reconnect the bulbs and see if the issue is resolved.
Common networks (2.4GHz vs. 5GHz)
Most routers nowadays transmit on both the 2.4 GHz and 5 GHz bands. The 5 GHz band provides faster speeds but covers a smaller range, while the 2.4 GHz band offers less speed but broader coverage. Geeni lights only connect to the 2.4 GHz band.
If your router supports both, turn off the 5 GHz option to avoid a connection error. Alternatively, create distinct SSIDs for the 2.4 GHz and 5 GHz bands through your router’s admin panel to prevent any pairing issues with your Geeni light.
Power Cycle The Devices
If you’re having trouble connecting your Geeni light bulb, a quick and effective fix is power cycling your devices. This involves turning off and then on both your router and the Geeni light bulb, refreshing the connection, and ensuring stability.
Here’s a simple guide to power cycle your devices:
- Turn off your Geeni light bulb by either switching off the light switch or unplugging it.
- Disconnect your router from the power source.
- Wait for at least 30 seconds before turning your devices back on.
- Plug your router back in and wait for it to fully restart.
- Turn on your Geeni light bulb by switching on the light switch or plugging it back in.
Once you’ve power cycled, attempt to reconnect your Geeni light bulb to your Wi-Fi network. This process typically resolves most connectivity issues.
Keep in mind that power cycling is a temporary solution. If issues proceed, you ought to explore other troubleshooting decisions, for example, resetting your device or investigating your internet connection. Ideally, this means getting your Geeni light bulb shining brightly again!
Resetting the Geeni Light Bulb
To reset your Geeni light, first, connect the bulb to a regular light fixture. Toggle the switch on and off three times, ensuring there’s a gap of 5 to 7 seconds between each “ON” cycle. Watch for the light bulb to rapidly flash, indicating that it has entered pairing mode.
The bulb’s quick flashes mean it can be easily paired using the simple mode, excluding the need to connect to the bulb’s hotspot.
Once the bulb is in pairing mode, follow these steps to reconnect it to the Geeni app:
- Launch the Geeni app.
- Press the “+” icon to include a device.
- Choose Smart Lighting from the options.
- Provide your network information.
- Select the pairing mode (Easy Mode).
- Allow the app to locate and register your device.
Connect The Bulb Manually
If you’re having trouble pairing your light bulb in Easy mode, manually connecting to the light’s hotspot during setup is a convenient alternative. To initiate this process, reset the bulb twice, entering the AP mode signaled by a single flash every three seconds.
To perform the first reset, attach the bulb to a standard fixture, and toggle it on and off thrice. Follow this with another reset to enter AP mode. If you’re unable to locate the bulb’s hotspot while linking to the Geeni app, it may be defective and require replacement.
Now, with the bulb reset, here’s how to pair it using AP mode:
- Launch the Geeni app.
- Press the “+” icon to incorporate a new device.
- Select the Smart Lighting category and enable location and Bluetooth on your mobile device.
- Connect to your network, opting for the GHz Wi-Fi option and entering the correct password. Tap “Next Step.”
- Connect to the device’s hotspot by tapping “Connect Now,” selecting the hotspot in your device settings, and returning to the Geeni app.
- Tap continue to proceed with device addition. Allow the app to discover and register your smart light to your account.
- Rename the device. Once successfully added, tap the edit icon, provide an appropriate name, and save. Congratulations! You’ve effectively added your Geeni smart light.
Router Configuration
For optimal Geeni Light Bulb connectivity, access your router settings through its web interface. Confirm secure WPA2 settings, review firewall configurations, and ensure correct SSID/password entry in the Geeni app. Verify the bulb is on the 2.4GHz frequency, then apply changes and restart the router for effective configuration.
- Router Settings: Sign in to your router’s web interface using the designated IP address.
- Check Security Settings: Ensure that security protocols like WPA2 are enabled for a secure connection.
- Firewall Inspection: Review firewall settings and make sure they allow communication with the Geeni Light Bulb.
- SSID and Password: Confirm that the network name (SSID) and password are correctly entered in the Geeni app.
- Separate Frequencies: If using dual-band, verify the Geeni Light Bulb is on the 2.4GHz frequency.
- Restart Router: Apply changes and restart the router to finalize the configuration.
Firmware Updates
Ensure smooth Geeni Light Bulb functionality by keeping firmware updated:
- Identify Device Model: Know your Geeni Light Bulb model for the correct firmware.
- Check for Updates: Visit the Geeni app or official website to verify the latest firmware.
- Download and Install: If an update is available, download it and follow the installation prompts.
- Device Restart: After installation, restart the Geeni Light Bulb to apply changes.
- Router Update: Additionally, check and update your router’s firmware for overall network compatibility and performance.
Final Thoughts
Geeni Light Bulb connectivity involves a systematic approach. By tending to normal network ambiguities, power cycling devices, and exploring manual associations, clients can decide on most issues. Checking router designs, ensuring firmware updates, and keeping up with gadget similarity add to a consistent smart home insight.
Keep in mind, that predictable observing, opportune updates, and adherence to producer rules ensure ideal execution, making your Geeni Light a basic and inconvenience-free part of your smart home ecosystem.
Frequently Asked Questions:
Q: Why is my light not connecting?
A: Connectivity issues may arise due to network discrepancies, outdated firmware, or incorrect device settings. Ensure the Geeni Light Bulb is on the 2.4GHz frequency, update firmware, and check router configurations for a seamless connection.
Q: Can I use 2.4 GHz and 5 GHz at the same time?
A: Geeni Light Bulbs typically work best with a 2.4GHz network. Using both frequencies simultaneously may cause compatibility issues. Ensure your device is connected to the recommended 2.4GHz frequency for optimal performance.
Q: Why won’t my Geeni go into pairing mode?
A: If your Geeni device isn’t entering pairing mode, check for proper power supply and network connectivity. Reset the device if needed, and consult the user manual for specific instructions on initiating pairing mode.


