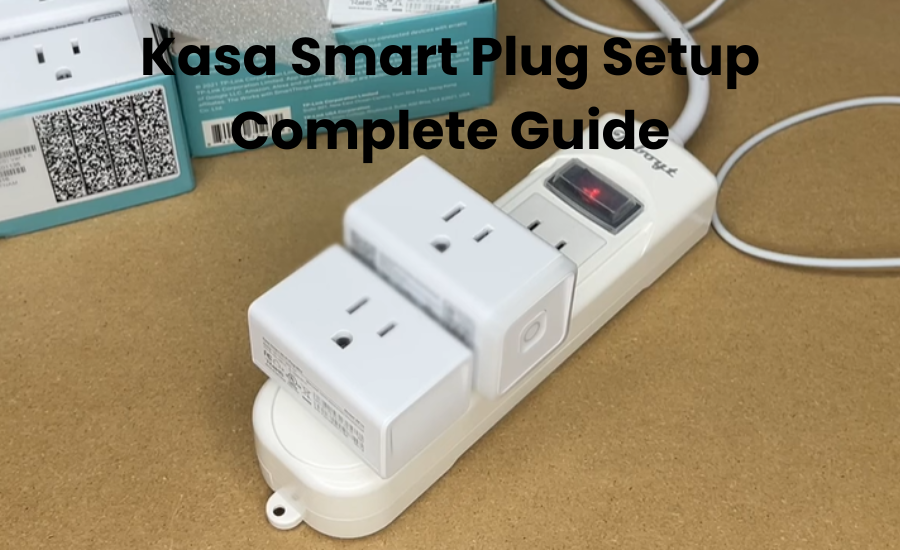
The Kasa Smart Plug is a popular little gadget from TP-Link that has been making waves. This device is like a mini powerhouse for your home that lets you automate and control all kinds of appliances, from your trusty electric kettle to your favorite fan, humidifier, or even your coffee maker.
This little plug aims to make your life easier. Voice and app control for you to control it, scheduling capabilities, timer set for automatic on/off functions, added options like energy monitoring to help you reduce electric bills, and more.
Of course, no device is perfect and some people have complained about their kasa plug not working or problems connecting to WiFi.
In this blog post, I have discussed in detail how your Kasa Smart Plug is not connecting. I’ll walk you through some troubleshooting steps to get your Kasa Plug back up and running smoothly whenever your device stops working.
Why Is My TP-Link Kasa Smart Plug Not Connecting?
It seems like your Kasa smart plug is having trouble connecting, and there could be a few reasons behind it:
- The plug might not be compatible with your 5 GHz Wi-Fi frequency. Try using a 2.4 GHz network instead.
- The plug might be too far away from your router, causing a weak signal. Try moving it closer.
- Your router settings might be preventing the addition of new devices to the network.
- Your network signal might be too weak to add the device successfully.
- Make sure you’ve granted the Kasa app the necessary permissions to access your local network.
- Ensure that the plug is in pairing mode so that you can find its hotspot to connect to.
- Make sure your Kasa app is up to date, as an outdated app could also cause connectivity issues.
By addressing these potential issues, you should be able to troubleshoot and resolve the connectivity problem with your Kasa smart plug.
How To TP-Link Kasa Smart Plug Not Connecting
There are several tricks you can try to get your Kasa plug back online or fix any issues, like updating the firmware, rebooting your router, resetting the device, minimizing interference, switching to a different wall outlet, and more. I aim to walk you through each of these steps thoroughly to assist you in resolving your problem.
Connect To The Right Frequency Of 2.4 Ghz
It seems like the problem with connectivity might stem from Wi-Fi interference or not connecting your device to the correct frequency channel. The Kasa smart plug specifically operates on the 2.4 GHz channel.
If you have a dual-band router supporting both 5GHz and 2.4GHz simultaneously, ensure you connect the plug to the correct frequency and disable the 5GHz during setup.
Keep in mind that while 2.4 GHz offers a longer range and better penetration through solid objects, it’s more susceptible to interference due to many smart home devices using the same frequency.
To minimize interference, turn off unused connected gadgets and relocate devices potentially causing interference. This should help improve your connectivity.
Check Your Wi-Fi Settings
To set up your smart plug, make sure your router is online. Test your Wi-Fi by connecting to another device and browsing the internet. If your network is acting up, fix it before adding the plug.
If your Wi-Fi is slow or inconsistent, a quick remedy is to reboot your router. Unplug it, wait 1-3 minutes, then plug it back in.
When connecting the plug, use the right network credentials. Common mistakes include adding spaces before or after the password. Stick to a password under 64 characters, without special symbols.
Check your router’s admin portal and ensure that “MAC address filtering” is turned off, allowing it to recognize new devices.
If your router supports “Band Steering,” disable it and set the 2.4 GHz channel to 1, 6, or 11. Verify the security type; if it’s set to “wpa2/wpa3-personal,” change it to “WPA+AES.”
After making any network changes, power cycle your router. Forget the old network on your device and reconnect to the updated one. Finally, attempt to reconnect your smart plug.
Power Cycle Your Kasa Smart Plug
Power cycling your Kasa Smart Plug helps reset its internal processes, resolving potential glitches and connectivity issues. To power cycle your Kasa Smart Plug, follow these steps:
- Locate the smart plug and unplug it from the power outlet.
- Wait for approximately ten seconds to ensure a complete power cycle.
- Insert the smart plug back into the electrical socket.
- Wait for a few moments to allow the device to reboot and establish a new connection.
- Check if the smart plug is now successfully connected to your Wi-Fi network.
Move Your Device Closer to the Router
As you move away from the router, the strength of the 2.4 GHz signal decreases. Additionally, encountering more obstacles further weakens the signal.
To ensure you get a strong enough signal during the setup, make sure the plug is placed near the router. Ideally, keep it within a distance of 10 to 20 feet.
For outdoor plugs, make sure the endpoint is receiving a robust signal. Either bring the router closer or consider installing a Wi-Fi range extender to ensure the plug is well within the Wi-Fi coverage area.
Firmware Updates
Firmware updates for your Kasa Smart Plug are crucial as they bring essential improvements, bug fixes, and enhanced features. To update the firmware of your Kasa Smart Plug, follow these steps:
- Open the Kasa Smart app (Apple or Android) on your smartphone or tablet.
- Navigate to the Devices tab and select your smart plug.
- Search for the Firmware Update feature and select it by tapping on it.
- If there’s an update ready, simply follow the prompts on the screen to download and install it.
- Once the update is complete, your smart plug will be running the latest firmware version, potentially resolving any connectivity issues.
Resetting the Kasa Smart Plug
When it comes to solving issues with your smart device, a factory reset is often the ultimate fix we discuss in this article. It’s a step I frequently suggest because it can effectively troubleshoot many problems.
One important thing to note is that performing a factory reset will restore your Kasa plug to its original settings, wiping out all your data and personal information in the process.
Here’s a simple guide on how to reset your Kasa Plug:
- Press and hold the Power button until you see the indicator light blink slowly, and then rapidly.
- Once the light is blinking rapidly, it means the device has been reset and is now in setup mode.
- You can now proceed to set up your Kasa Plug from scratch.
Reconnect The Kasa Smart Plug
Reconnect again when you have completely reset the Kass Smart Plug. To reconnect your Kasa Smart Plug, follow these steps:
- Launch the Kasa app on your smart device or tablet.
- Navigate to the Devices tab and select your smart plug.
- Choose the option to “Reconnect” or “Setup New Device.”
- Follow the on-screen guidelines to establish a connection between the smart plug and your Wi-Fi network.
- Enter your Wi-Fi network credentials as prompted.
- Wait for the setup process to complete and confirm a successful connection.
Final Thoughts
How you can troubleshoot Wi-Fi connectivity problems with your TP-LINK Kasa Smart Plug. Sometimes, connection issues can arise due to various reasons, so it’s essential to go through all the troubleshooting steps to pinpoint the exact problem.
If you’re also encountering “offline/device unreachable issues,” where the app can’t detect your device or shows it as offline, the troubleshooting steps mentioned above can assist you in resolving these issues.
That’s about it! I hope this guide helped resolve any problems you might be experiencing with your TP-LINK Kasa Smart Plug.