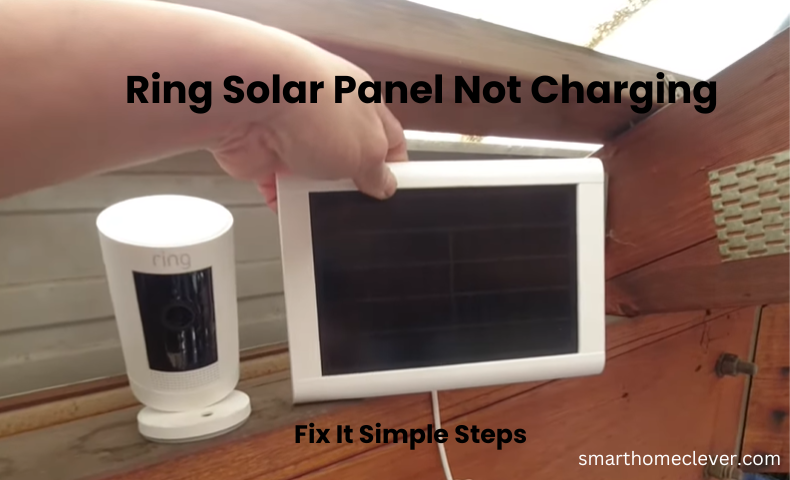
If you’ve got the Ring Video Doorbell, consider pairing it with a Ring Solar Panel to extend its battery life. While it won’t completely recharge the battery, it adds a little extra juice each day, reducing the frequency of manual recharges.
However, there can be problems with the Ring solar panel. Sometimes it fails to charge itself, and other times it doesn’t charge the doorbell.
You’ll need to troubleshoot both the Ring Video Doorbell and the Ring Solar Panel.
This guide covers the most common issues users face with these devices and offers solutions to address them.
Why Are My Solar Panel Not Charging My Ring?
Dealing with a solar panel that isn’t charging can be irritating.
There could be a few reasons why your Ring solar panel isn’t charging:
- Battery Health and Performance
- Check Your Solar Panel Compatibility
- Check Solar Panels and Connections
- Make Sure Adequate Sunlight
- Reinstall Your Ring Solar Panel
- Reset the Ring Device
- Inspect for Faulty Components
Let’s go over each of these reasons and suggest some solutions.
Battery Health and Performance
First, make sure your Ring device’s battery isn’t fully charged.
Ring solar panels are designed to stop charging once the battery hits 90% capacity. This helps optimize the performance of the lithium-ion battery and prevents overcharging, which could potentially shorten its lifespan.
To check the current battery percentage:
- Launch the Ring app on your smart mobile phone or tablet.
- Choose your specific Ring device that’s connected to the solar panel (like your ring camera) from the list of devices.
- Look for the battery icon within the app – it’ll display the remaining battery percentage.
If the battery level is at 90% or higher, the solar panel won’t provide any additional charging. Just use the device as usual to drain the battery before checking the solar panel status again.
Check Your Solar Panel Compatibility
Unfortunately, not every Ring device can link up to a solar panel. So, it’s crucial to make sure your camera is compatible with one. Here are some pointers to help you check compatibility:
- Head to the Ring website and search for details about whether your Ring device can work with a Ring Solar Panel. They usually have a list of compatible devices.
- Check the manual that came with your Ring device. It should tell you which Ring Solar Panels are compatible with your specific device.
Check Solar Panels and Connections
Please carefully inspect both the physical solar panel and all the wiring connections between the panel and your Ring device:
- Look closely at the solar cells on the panel for any signs of cracks, scratches, color changes, or damage to the casing.
- Make sure all wires and cables are in good condition, without any fraying or exposed copper. Give each wire plug a gentle wiggle to ensure it’s securely plugged in.
- Check for any obstructions like dirt, leaves, or debris blocking the solar cells. If necessary, use a dry cloth to clean them gently.
- Confirm that the power cord is securely plugged into the outlet for plug-in panels. Consider trying a different outlet to rule out any issues with the receptacle.
- If you notice any damage to the panel or wires, it’s likely necessary to replace those parts to resolve any charging problems.
Make Sure Adequate Sunlight
A common issue with Ring solar panels not charging properly often boils down to a lack of sufficient direct sunlight exposure throughout the day.
To ensure your Ring solar panel functions optimally, it needs a minimum of 4 to 5 hours of direct, unobstructed sunlight daily. This ensures the solar device receives the vital solar energy to deliver a successful charging current.
Verify that the solar panel is exposed to full sunlight for the majority of the day. Look out for potential obstacles like trees, overhangs, shafts, structures, or whatever other items that could create shaded areas and hinder sunlight.
To maximize sunlight exposure, adjust the tilt angle and direction of the solar panel based on the sun’s position in your location. If you’re in the northern hemisphere, facing south is ideal, and vice versa for those in the southern hemisphere.
Stay informed about the daily weather forecast and choose several sunny days to evaluate the charging capability. Cloudy or stormy weather can significantly impact the performance of the charging process.
Reinstall Your Ring Solar Panel
Sometimes, when a solar panel isn’t charging properly, it could be due to a faulty initial installation. Here’s what you can do:
- Disconnect the solar panel’s wiring from your Ring device and remove any mounting hardware or brackets holding the panel in place.
- Check the wiring, cables, and connectors for any signs of damage like nicks, corrosion, or bent pins.
- Clean the solar cells and panel casing delicately using a soft brush and mild soap to remove any dirt or debris.
- Securely reinstall the solar panel in the best sunlight spot using good-quality hardware.
- Carefully reconnect the wiring, ensuring that you don’t bend or pinch the cables. Listen for a clicking sound to ensure the connections are secure.
- Test the charging function after reinstalling the panel. This often resolves any wiring faults or connection issues from the initial setup.
Reset the Ring Device
Resetting a Ring device can resolve various issues such as connectivity problems, and software glitches, or troubleshoot malfunctioning features. It’s akin to restarting a computer to fix technical issues, ensuring the device operates smoothly and reliably. Here’s a detailed step-by-step guide to resetting a Ring device:
- Locate the reset button on your Ring device. Typically, it’s a small button that might need a paperclip or a similar tool to press.
- Press and hold the reset button for about 15 seconds until you see the device’s lights flash.
- Release the reset button once the lights flash, indicating that the device has been successfully reset.
- Wait for the device to reboot and reconnect to your network.
- Once the device is back online, reconfigure its settings as needed in the Ring app.
Following these steps should reset your Ring device effectively.
Inspect for Faulty Components
If you’ve checked that your solar panel gets enough sunlight, made sure there aren’t any compatibility problems, and fixed any wiring issues, but you’re still having trouble, it might be due to a faulty component.
Try connecting your solar panel to another Ring device that you know is working properly. Check if the solar panel is charging the device. This will help you determine if the solar panel itself is functioning correctly.
Then, could you connect a different solar panel that you know works to the Ring device that’s giving you trouble? This will help you figure out if the problem lies with the Ring device.
By swapping these parts around, you’ll be able to pinpoint whether the issue is with the solar panel or the Ring device. If one part works fine but the other doesn’t, you’ll know which one is faulty.
Once you’ve identified the problem, you may need to replace the damaged part, either the solar panel or the Ring device, to get everything back up and running smoothly.
Conclusion
Opting for the Ring solar panel is a green solution to power up your Ring doorbell or camera sustainably.
If your solar panel seems unresponsive, double-check that it receives ample direct sunlight and inspect for any potential damage to its components.
Assuming everything appears intact but your solar panel refuses to charge, it likely indicates that your Ring devices have sufficient charge and don’t require additional power.
In case troubleshooting doesn’t resolve the issue, keep in mind that Ring offers a generous one-year warranty for all their devices.
Should your Ring solar panel still fall within the warranty period, don’t hesitate to reach out to them for a complimentary replacement.
Frequently Asked Questions:
Q: Does Ring Solar Panel Need Direct Sunlight to Charge?
A: Yes, Ring solar panels require direct sunlight to charge effectively. Direct sunlight provides the necessary energy for the solar panel to convert into electrical power, which then charges the connected Ring device. While some charging may still occur in indirect sunlight or on cloudy days, optimal performance is achieved when the panel receives direct, unobstructed sunlight for most of the day.
Q: How Many Hours Does Ring Solar Panel Need?
A: The number of hours required for a Ring solar panel to charge relies upon different variables, including how much sunlight it gets, the effectiveness of the solar panel, and the limit of the connected Ring gadget’s battery. Generally, Ring recommends installing the solar panel in an area that receives at least 6-8 hours of direct sunlight per day for optimal charging performance. However, the actual charging time may vary based on environmental conditions and individual usage patterns.
Q: How Long Does a Ring Solar Battery Last?
A: The lifespan of a Ring solar battery can vary depending on usage, environmental factors, and battery health. On average, Ring solar batteries are designed to last several years under normal operating conditions. However, factors such as extreme temperatures, regular charging and releasing cycles, and battery debasement over the long haul can influence the battery’s life expectancy. Ring suggests observing the battery’s well-being through the Ring application and supplanting it is important to ensure the proceeded with dependable execution of your Ring gadget.