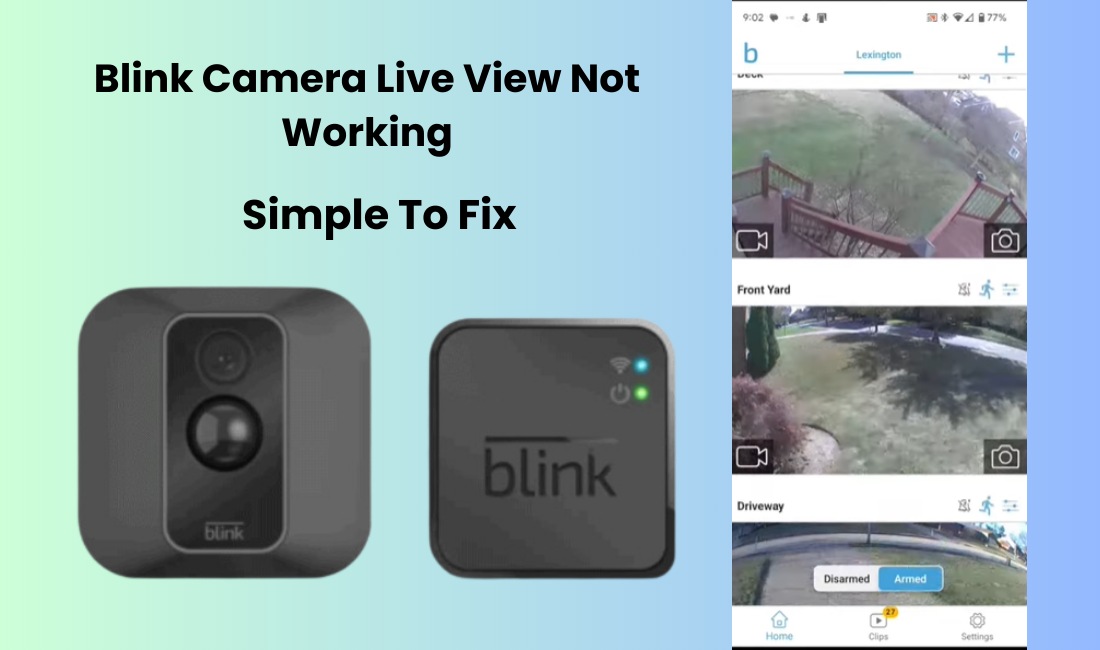
Blink Camera has a unique feature that sets it apart from other smart security cameras such as, it can record and transmit audio Blink Camera Live View Not Working. But if your Blink Camera’s Live View tab is causing essential issues to access then you can follow the steps below.
I have been a loyal user of these Blink products for quite some time and they have consistently lived up to my expectations.
However, a recent update to the Blink Home Monitor app has brought the Live View tab to life, making navigating through the app and viewing recordings a breeze.
If you are facing the problem of not seeing live views on your Bling Camera home screen, here are some troubleshooting steps you can try to fix the problem. First, you need to check the network and power cycle status on both camera and router. If your Blink Camera issue persists, consider updating the Blink app or removing and reinstalling it. Also if all else fails, you may need to resort to a factory reset for your Bling Camera.
Why Is My Blink Camera Live View Not Working?
To capitalize on your Blink cameras, ensuring areas of strength for an association for stacking and real-time live video is essential. A common issue is poor signal strength, which can lead to the live view not working. Make sure your camera is hooked up to a robust internet source and has sufficient power when you want to access the live feed.
Being able to take a look at a live film in a hurry is a vital element for any dependable security framework. I mean, we all sneak a peek at the Blink app when we’re away from home, right?
Live feed problems often stem from network issues or power-related issues. Sometimes, it could be due to Blink server outages or downtime. For optimal performance, Blink cameras need to stay synced with the cloud-based servers.
Just a heads up, except for the Blink Mini, all other cameras connect via a sync module. Both the sync module and camera must maintain an active internet connection for the live feed to work seamlessly.
Power Source Your Devices
To give your devices a quick refresh and fix any problems, try power cycling. This means turning off and on your network gadgets like the modem, router, camera, sync module, and the whole shebang.
First off, unplug the device from the socket, give it a breather for about a minute, and then plug it back in. Let it power up and hook up with your network.
For those Blink outdoor cameras, take out the battery for a smooth 10 seconds, then pop it back in to kickstart a reboot.
Start with the network gear, and once they’re back in the game, move on to the Blink camera. Double-check that your router is beaming out a Wi-Fi signal before giving the Blink camera a restart.
Once the camera is back in action and hitched up, hit refresh on the Blink app and dip into that Live feed.
Assessing Network Connection
- Check Wi-Fi Strength: Start by evaluating the strength of your Wi-Fi signal. A weak or unstable connection can lead to disruptions in the live view feature of your Blink camera. Consider repositioning your router or investing in a Wi-Fi range extender to improve coverage in the camera’s vicinity.
- Router Settings Optimization: Delve into your router settings to optimize its configuration for better connectivity. Adjusting channels and ensuring the router operates on the least congested frequency can mitigate interference issues. A well-configured router provides a more stable environment for your Blink camera.
- Identify Potential Interference Sources: Identify and eliminate potential sources of interference that could disrupt the camera’s connection. Electronic devices, neighboring Wi-Fi networks, or even physical obstacles can impact signal quality. Understanding and mitigating these sources of interference contribute to a more reliable live view experience.
- Router Placement Considerations: Consider the physical placement of your router. Its location within your home can affect signal strength. Unifying the switch and keeping away from arrangements close to enormous hindrances or electronic machines can upgrade the general organization execution, decidedly affecting the Blink camera’s live view usefulness.
Verify the Connection Between Your Sync Module and Camera
To get a live stream on your camera, make sure it’s hooked up to the Sync Module and connected to Wi-Fi.
If you’re having trouble connecting, keep an eye on the status LED light. A solid red light means there’s a Wi-Fi problem.
For a smooth connection, look for solid blue and green LED lights on your module – that means everything’s up and running.
To double-check, jump into the Blink app. Open it up, hit the settings icon, head to the camera settings tab, and scroll down to the network section. There, you can check the “camera to Wi-Fi” and “camera to Sync Module” statuses.
For a solid connection, aim for at least 2 bars on the Wi-Fi indicator. Anything less might mean your signal isn’t strong enough for a live view.
Don’t forget, your sync module needs to be linked to the cloud servers.
If your signal’s a bit shaky, try running a speed test on your network. Your internet provider might be slowing you down. To give it a boost, try these tricks:
- Move your Wi-Fi router closer to the camera for a stronger signal.
- Power cycles both your Wi-Fi router and the Blink camera to refresh the connection.
- Look around for any interference, like other gadgets, baby monitors, or thick walls.
- Consider upgrading your Wi-Fi router to a newer model (Mesh network) for better performance.
Updating Blink Camera App and Firmware
Before you go looking for app updates, make sure to clear the app’s cache to free up some memory and give the app a fresh start.
Head over to your respective app store and check if there are any updates available for the Blink app. If there is one, go ahead and update it.
Now, use the Blink app to confirm if there’s a firmware update for your camera. Here’s what you need to do:
- Open the Blink app on your mobile or tablet.
- Choose the camera you want to update.
- Tap on your Blink App settings icon.
- Select “Device Information.”
- If there’s a firmware update available, you’ll see an option to update it. Just follow the on-screen instructions to complete the update.
Keeping your app and camera up to date with the latest firmware and software is crucial. It not only fixes any bugs but also enhances performance and adds new features to your camera. So, stay on top of those updates!
Checking Camera Settings
- Camera Placement Impact: Assess the impact of camera placement on the quality of the live view. Ensure that the camera is positioned optimally to capture the desired area without obstacles. Experiment with angles and heights to find the sweet spot for the best live-view performance.
- Power Source Verification: Verify the power source for your Blink camera. Low battery levels can think twice about the camera’s capacity to give a consistent live view. Regularly check and replace batteries as needed to maintain a stable power source and ensure uninterrupted camera functionality.
- Adjusting Camera Settings: Dive into the camera settings to review and adjust configurations as necessary. Explore settings related to motion detection, video quality, and recording preferences. Ensuring that your camera settings align with your security needs can contribute to a more reliable and efficient live view experience.
Camera Offline Error
Encountering a “Camera Offline” error can be disconcerting, but fear not. This issue often stems from a temporary disruption in the camera’s connection. To resolve this, consider re-syncing your Blink camera with the system, power cycling the device, and ensuring that firmware updates are current. These simple troubleshooting steps often bring the offline camera back online, restoring seamless connectivity and functionality to your Blink security system.
No Live Video Error
The frustration of a “No Live Video” error can be alleviated by a systematic approach to troubleshooting. Investigate potential causes, for example, software errors or record-related issues. Swiftly identify and rectify these issues to restore live view functionality. Furthermore, keeping up with cutting-edge software, including firmware for your Blink camera and the versatile application, is vital. By ensuring similarity and expeditiously tending to software-related issues, you can appreciate continuous admittance to live video taken care of from your Blink camera.
Factory Reset the Blink Camera
If you ever need to start fresh with your Blink camera, resetting it is the way to go. This wipes out all the current settings, bringing the camera back to its default configurations. Just keep in mind that after this, you’ll need to reconnect the camera and make sure it’s running the latest firmware.
When you reset or delete the camera through the Blink app, it’s like giving it a clean slate. It removes it from your account and lets you start anew.
For a Blink mini camera, here’s how to perform a factory reset:
- Find the reset button on the back of the camera.
- Utilize a paperclip or a comparable item to depress and maintain pressure on the reset button for approximately 10 seconds.
- The front LED light will start flashing red, indicating that the reset is in progress.
- Once the LED light stops flashing, the camera has successfully reset to its factory settings.
If you have a sync module with multiple cameras paired, resetting the module will also reset all the connected cameras.
Now, to reconnect your camera using the Blink app:
- Open the Blink app.
- Tap the “+” icon.
- Choose your camera type.
- Scan the QR code.
- Discover devices.
- Connect to your network.
- Customize your camera settings.
Once your camera is hooked up to the network, simply tap it on the home screen to load the live feed.
Final Thoughts
To resolving “Blink Camera Live View Not Working” challenges requires a holistic approach. By assessing and optimizing your network connection, checking camera settings, and addressing specific errors like “Camera Offline” or “No Live Video,” you empower your Blink camera to function seamlessly.
Regularly update firmware, position your camera strategically, and ensure a stable power source for sustained reliability. With these troubleshooting insights, you can fortify your security system and enjoy uninterrupted live views.
Remember, a vigilant home begins with a camera that works effortlessly, and with these steps, you’re well on your way to a secure and problem-free monitoring experience.