The incorporation of an Arlo Base Station or Smart Hub enhances the capabilities and features of your Arlo security system. Upon connecting it to your network, you can introduce additional functionalities such as local storage integration, alleviating network congestion by operating the Arlo setup on a distinct network and accessing 2K/4K resolution on a local network. However, it is imperative to initially configure the Arlo base station on your network.
Arlo gives different Base Stations and Smart Hub choices, each intended to be viable with explicit Arlo cameras and devices. While securing the base station as a valuable unit, confirming its similarity with your current devices is urgent.
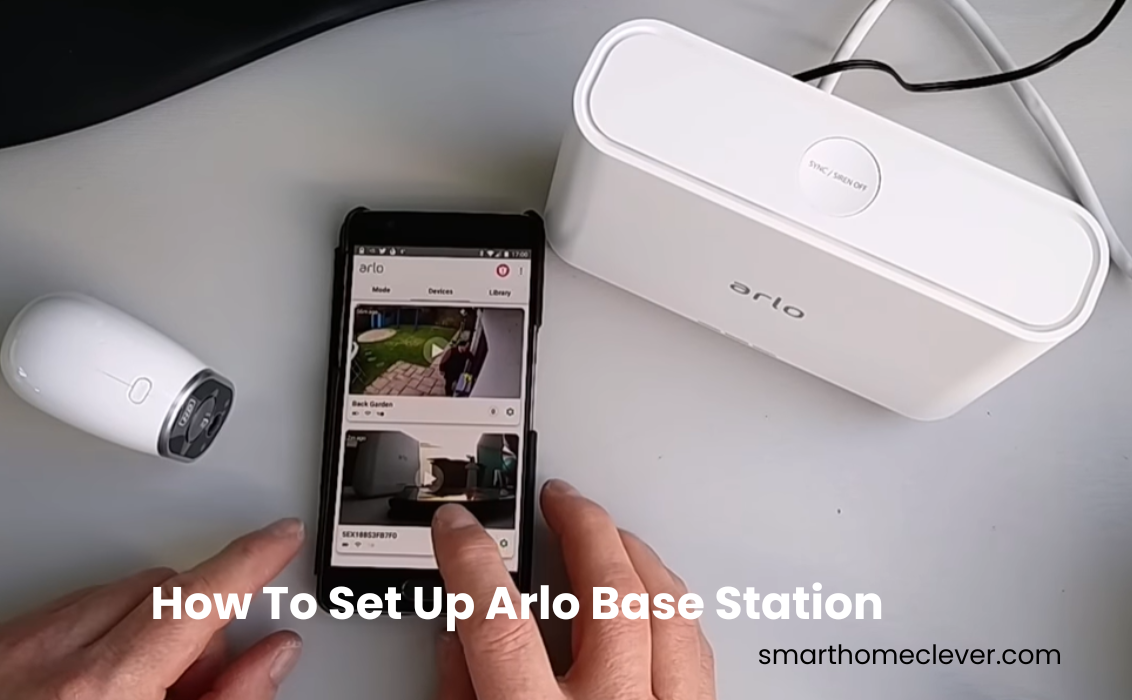
How do I set up my Arlo system?
Get started on the seamless journey of setting up your Arlo base station by ensuring you have the essentials in place. Equip yourself with a compatible network, the Arlo Secure app featuring a registered user account, and an ethernet cable.
Unlike conventional wireless connections, Arlo base stations establish a reliable link through an ethernet cable to your primary router. Additionally, if you desire an extended reach, connect it effortlessly to a network extender boasting an ethernet port.
It’s crucial to note that various Arlo Base stations and Smart Hubs come with distinct network requirements. The older models sync only with 2.4 GHz networks, while their newer counterparts thrive on both 2.4 and 5 GHz networks. For precision, consult the specifications tailored to your specific model.
Before delving into the setup process, execute the following steps:
- Ensure your mobile device is seamlessly connected to the same Wi-Fi network.
- Temporarily disable VPN or Ad Guard software on your mobile device to eliminate potential hindrances.
- Activate Location and Bluetooth on your device, facilitating seamless device discovery during the setup process.
- Navigate to your respective app store, download the Arlo Secure App, follow through with the registration process, and verify your user account. Skip this step if you’ve already embraced the app on your device.
With these steps as your guiding light, you’ll effortlessly establish a robust foundation for your Arlo base station, unlocking a world of security and convenience.
Preparing for Setup
Before delving into the setup process, familiarize yourself with the Arlo Base Station kit. Unbox with care, ensuring all components are intact and undamaged. Choose an optimal location, considering factors like Wi-Fi signal strength and power source proximity. Gathering fundamental devices, including screwdrivers and link-the-board arrangements, guarantees a smooth arrangement. Conducting a pre-setup checklist guarantees that you have everything needed for a trouble-free installation.
- Inspect components for damage during unboxing.
- Ensure a clear line of sight between cameras and the base station during the syncing process.
- Organize tools before starting the setup for an efficient workspace.
Connecting The Base Station
Transforming your home security has never been this straightforward! Follow our step-by-step guide to effortlessly set up your Arlo Base Station and sync it with the Arlo Secure App. Say goodbye to connectivity hassles with these simple instructions.
- Establishing Network Connection: Connect one end of the Ethernet cable to your router and the other to your Base Station. Plug the power adapter into a functional outlet. If your Base Station features an on/off button, power it ON. Keep a keen eye on the LED indicator until it signals a solid BLUE for models with a single status light or solid GREEN for models with three lights (power, internet, and camera).
- Adding to the App: Launch the Arlo Secure App. Navigate to ‘Add New Device’ and select ‘Base Station/Hub.’ Allow the app a moment to discover your device and choose the Base Station once detected. Personalize your Base Station by giving it a name and setting your time zone. Once completed, click ‘Continue.’
- Device Initialization and Upgrades: The app will initialize your device and check for any available upgrades.
- Camera Integration: Add cameras to your setup or simply tap ‘Finish.’
- Voila! Success in a Few Simple Steps: Congratulations! You’ve seamlessly onboarded your Base Station to the Arlo app. It’s now time to sync your cameras for a comprehensive home security experience.
Note: Ensure you connect the Ethernet cable before powering up the device to prevent potential connectivity issues. Elevate your home security effortlessly with Arlo!
Syncing Arlo Cameras
After connecting the Base station to your network, the subsequent step involves syncing your cameras. This can be accomplished either through the app’s guidance or manually if you are already familiar with the process.
To successfully synchronize your cameras, follow these steps:
- Position the camera near the base station (within 30 – 100 centimeters).
- Verify that the base station has a stable internet connection by checking the status LED, which should be solid green or blue, depending on your model.
- Ensure that your mobile device remains connected to the same network as the base station.
- For new devices, securely insert the battery into its compartment and allow it to charge for a few minutes.
In certain models like the Arlo Ultra or Pro 3, it’s necessary to release the camera from its housing to access the sync button.
Configuring Arlo Base Station Settings
Navigating the heart of your Arlo security system, the Arlo Dashboard is a critical step in harnessing its full potential. Access the dashboard with ease, and acquaint yourself with its features. Modify your Arlo cameras by changing movement identification awareness and adjusting video quality. Plunge into the realm of Arlo modes, making modified arrangements to suit various situations.
- Bookmark the Arlo Dashboard for quick access.
- Strike a balance in camera settings to avoid false alarms.
- Regularly review and update Arlo modes based on changes in your routine or security preferences.
Using the Arlo Secure App
Alternatively, you have the option to utilize the app’s instructions for synchronizing your cameras with the Base Station. The app provides easy-to-follow guidance:
- Launch the app on your mobile device.
- Navigate to “Add New Device” > “Cameras” > Select your camera model.
- Continue to effortlessly link the camera to the detected base station.
- Power up the camera, press the Sync button, and when the LED flashes blue, tap “Continue” on the app > Let Arlo locate your device.
- Personalize your camera by giving it a name and proceed by tapping “Continue.”
- Finish the process or continue adding more cameras as needed.
Please note, that each camera is added individually to the Arlo base station. Simply repeat the process to sync all your cameras with the Hub.
Once all your cameras are synced, take a moment to confirm the network connection by accessing live views.
For an extra layer of security, fine-tune your setup by customizing camera motion detection and sensitivity settings.
Explore additional options like local storage, if supported by the Base Station/Smart Hub, or enhance your storage capacity with an Arlo subscription for cloud storage.
Elevate your security experience with these hassle-free steps, ensuring a seamless and efficient setup for your Arlo surveillance system.