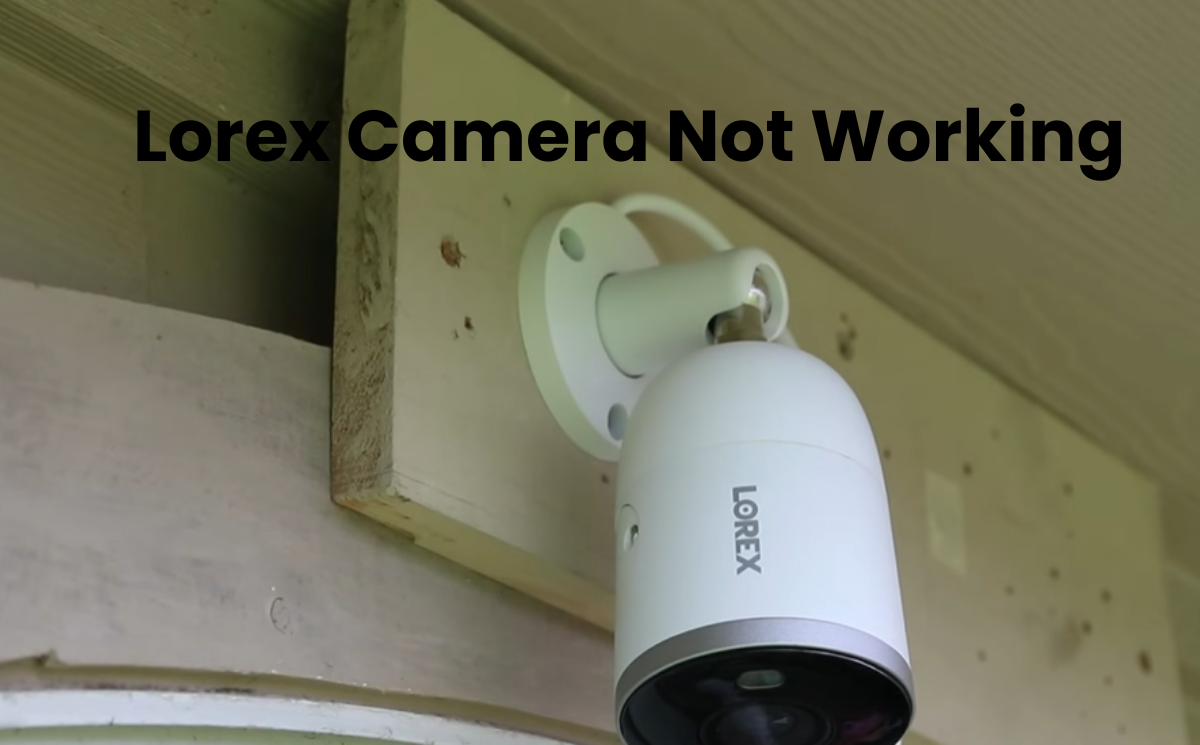
As the standard of living of electronics increases, there is no doubt that smart cameras are being monitored. Lorex smart cameras have become quite popular in the current camera market. In this post, I will detail the reasons why your Lorex camera is not working.
A well-known manufacturer of surveillance cameras in the market today, Lorex emphasizes that their products are user-friendly. But stress does not mean that there are no technical problems. All of the Lorex products are prone to the same problems as system cameras. Lorex Camera will make you aware of the steps to deal with and prevent such problems.
Your home security camera is not working and is unable to play any video, image, or remote camera. Did you know that fixing every video security camera is easy for everyone if you get a sound operating guide? Try these solutions that I have listed to solve your camera problems.
Why Is My Lorex Camera Not Working?
If your night vision isn’t kicking in or turning off as expected, it could be due to the surrounding light conditions or issues with your camera’s power source. For those using a wireless camera setup, try re-establishing the connection between your camera and monitor – it often helps strengthen the link between the two.
When a connected camera shows up as offline on your NVR (Network Video Recorder), the culprit might be a cable connection problem or a glitch in your NVR’s internal settings. Take a moment to ensure that the port connections are securely established if the camera is directly linked to the back of your NVR. If issues persist, consider resetting your NVR to its default settings. This can often troubleshoot and resolve connectivity problems.
Restart Your Wi-Fi Router
If you’ve ensured that your camera is turned on but are still unable to connect to Wi-Fi, attempting to resolve any connectivity issues by rebooting your router is a recommended step.
To restart your router, follow these simple steps:
- Unplug your router from the wall socket.
- Allow approximately 30 seconds to pass.
- Reconnect the router at this point.
After unplugging the router, proceed by disconnecting all the wires attached to it. Wait for a brief period before reinserting the wires into the corresponding ports on the router.
At this juncture, your camera should promptly establish a wireless network connection. If it doesn’t, proceed to the next course of action.
Restart the Security Camera to Fix Issues
Follow these steps when you restart the Lorex camera:
- Power Down the Camera: Begin by turning off the Lorex camera using the designated power button. Ensure that the shutdown process is complete before proceeding to the next steps.
- Disconnect Power Source: Unplug the camera from its power source. This step is crucial to ensure a complete shutdown and to allow any residual power to dissipate.
- Remove Batteries (If Applicable): For wireless or battery-operated Lorex cameras, if applicable, remove the batteries during the power-down phase. This ensures a complete cessation of power to all internal components.
- Wait for a Few Minutes: Give the camera a brief respite. Waiting for a few minutes allows any residual charge to dissipate, ensuring a clean restart.
- Reconnect Power Source: Plug the camera back into its power source. If batteries were removed, reinsert them. Ensure that the power supply remains steady and dependable.
- Power on the Camera: Turn the Lorex camera back on. This activity starts the boot-up process, permitting the camera’s inside parts to instate and synchronize.
- Monitor for Indicator Lights: Pay attention to any indicator lights on the camera. These lights provide insights into the camera’s status. Consult the user manual to interpret the meaning of different light patterns.
- Check Connectivity: Once the camera has fully powered on, verify its connectivity to the network or recording device. Ensure that the camera establishes a stable connection.
- Verify App Connection: If you use a mobile app to monitor your Lorex camera, check the app’s connection status. Re-establish the connection if necessary, ensuring seamless communication between the camera and the monitoring device.
- Test Camera Functionality: Conduct a brief test to ensure that the camera is functioning as expected. Verify image quality, pan, and tilt functions (if applicable), and any other features specific to your Lorex camera model.
Switch Your Wi-Fi Band
Switch your router to the 2.4 GHz WI-Fi band for seamless compatibility with Lorex cameras, as they are not compatible with the 5GHz band.
Take a quick look at your router settings and make sure it’s tuned to the right frequency. If you’re unsure about the process, consult your router’s user manual or simply search for instructions by googling the model.
Charge Your Camera
If your Lorex camera is battery-operated, you might encounter connectivity issues as the battery level drops. The good news is, that you can easily resolve this problem by charging the camera. Follow these simple steps to recharge your Lorex camera’s battery:
- Take the camera down from the wall or its installed location.
- Locate the charger that came with your Lorex camera.
- Open the power port on the Lorex camera and insert the charger cable into the port.
- Plug the adapter into a power outlet.
- Allow your Lorex camera to charge fully, which typically takes around 2 hours.
- After the 2-hour charging period, unplug the charger from both the wall outlet and the camera’s charging port.
- Finally, place the camera back onto its wall stand and reconnect it to the Lorex app.
These straightforward steps will ensure your Lorex camera is ready to capture and monitor without any connectivity problems.
Uninstall and Reinstall The Lorex App
Experiencing difficulty connecting your Lorex camera to the Lorex app? It could be due to outdated software or errors within the app causing connectivity issues. The solution? Simply uninstall and reinstall the Lorex app on your phone to ensure you have the latest version.
Not sure how to go about it? Follow these easy steps:
- Find the Lorex app icon on your phone’s home screen, then tap and hold until the Uninstall button appears.
- Select “Uninstall” to delete the application from your mobile device.
- Head over to either the Google Play Store or App Store, depending on your device.
- In the search bar, type ‘Lorex app’ and select the Lorex app from the search results. This will lead you to the Lorex app download page.
- Tap the Download button to reinstall the app on your phone.
- Once the reinstallation is complete, log in to your Lorex account and reconnect your camera to the app.
This quick and straightforward process ensures you have the most up-to-date version of the Lorex app, optimizing your camera’s performance.
Perform A Camera Reset To Restore Factory Settings
If your Lorex camera is still having trouble connecting to the app, performing a factory reset might be the solution. Resetting the camera to its factory settings will eliminate any saved configurations on your phone that could be hindering the connection to the app, making the reconnection process smoother.
To reset your Lorex camera to its factory settings, follow these steps:
- Locate the factory reset button on the back panel or base of your camera, usually marked with the letter R.
- Press and hold the factory reset button for approximately 10 seconds.
- Let go of the button and allow the reset process to complete.
Once the camera is factory reset, attempt to reconnect it to the Lorex app. You will need to set it up again, similar to the initial installation process.
Follow these steps to set up your Lorex camera:
- Open the Lorex Home app on your phone.
- Click on the Settings tab and choose Wireless.
- Tap Network.
- Follow the app instructions to complete the setup.
During the setup in the app, you’ll need to select a Wi-Fi network and set a password. Make sure to enter the correct Wi-Fi password to avoid any setup issues.
If the camera still doesn’t connect after this fix, consider reporting the problem to Lorex Support or replacing the camera.
It’s quite important that assuming your camera gives indications of actual harm, for example, broken parts, it might prompt glitches, requiring a substitution. In such cases, a replacement is often the most effective solution to restore proper functionality.
Why Do Lorex Cameras Go Offline?
Lorex cameras might go offline for different reasons, basically revolving around network issues. Normal guilty parties incorporate Wi-Fi interruptions, network obstruction, or power vacillations. Weak or inconsistent signals can lead to temporary disconnections.
Additionally, outdated firmware or software glitches might contribute to offline instances. Ensuring a steady organization, refreshing software quickly, and tending to any natural variables influencing the network can moderate the probability of Lorex cameras going offline, ensuring continuous observation and unwavering quality.
Motion Detection
Lorex cameras equipped with movement location offer a proactive way to deal with security, however legitimate design is vital. Adjust sensitivity settings to avoid false alarms triggered by ambient movements like leaves or shadows. Define specific detection zones, focusing on areas crucial for surveillance. Regularly check and update these settings, especially when environmental conditions change.
Understanding the intricacies of motion detection empowers you to tailor the feature to your specific needs, ensuring your Lorex camera captures genuine security threats while minimizing unnecessary alerts. By fine-tuning these settings, you optimize the effectiveness of motion detection, enhancing the overall security capabilities of your Lorex camera system.
Final Thoughts
If your Lorex camera is having trouble connecting, start by examining the device for any physical damage that may indicate a malfunction. If the camera appears to be in good condition, ensure that it is securely plugged into a power outlet. After confirming this, re-add the camera to your Lorex app. Additionally, consider charging the camera and reducing network activity to enhance connectivity.
Should the Lorex camera still refuse to connect, take the following steps: first, disconnect and then reconnect all cables on your router. Subsequently, uninstall and reinstall the Lorex app on your phone. If connection issues persist, perform a power cycle on the router and initiate a factory reset on the camera.
If, despite trying the aforementioned solutions, your Lorex camera remains unresponsive to the Lorex app, don’t hesitate to seek assistance from Lorex Support. They are equipped to provide further guidance and support to resolve any connectivity challenges you may be facing.
Frequently Asked Questions:
Q: Why is my Lorex camera not connecting to Wi-Fi?
A: Connectivity issues can arise from various factors, including Wi-Fi signal strength, network interference, or incorrect login credentials. Ensure your camera is within the Wi-Fi range, eliminate potential interference sources, and double-check your network details.
Q: How often should I clean my Lorex camera lens?
A: Regularly clean the camera lens every few weeks or as needed, depending on environmental conditions. Dust, smudges, or debris can accumulate and impact image quality. Use a soft, lint-free cloth for gentle cleaning.
Q: What can cause my Lorex camera to go offline intermittently?
A: Intermittent offline issues may stem from Wi-Fi disruptions, outdated firmware, or power fluctuations. Ensure a stable network, promptly update software and address any environmental factors affecting connectivity.