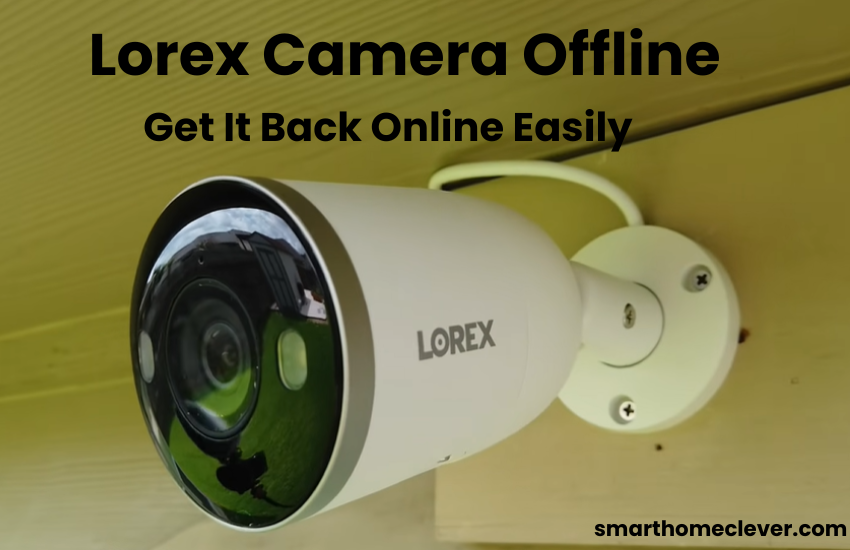
Lorex cameras stand out as one of the best choices among security cameras, offering a plethora of impressive features to its users. These include advanced capabilities like human and vehicle motion detection along with 4k video quality. What separates it from different brands is the lack of a subscription requirement to make it work, separating it from endless different cameras available. All you need to do is buy the camera and set it properly.
However, similar to any technological apparatus, it is susceptible to issues. So it is very common to encounter problems like the Lorex camera going offline.
You may encounter this common problem occasionally while using it, but don’t worry! Today we will discuss troubleshooting methods for dealing with your Lorex cameras going offline. If you want to identify and solve problems with your camera, you can read our article.
Why Are My Lorex Camera Offline?
When Lorex smart Wi-Fi cameras lose connection to the network or experience a power outage, they go offline. This can happen due to various reasons, like a poor signal from the Lorex Home Center or being out of Wi-Fi range. When this occurs, live streams and camera management via the app become unavailable.
Common causes include network loss, power disruptions, outdated app/firmware, and poor signal between the camera and the Home Center. If a power outage affects your smart devices, try power cycling the camera and router. After giving the router time to reconnect, check the camera’s status on the Lorex Home app. If everything is back online, you’re good to go.
Remember to ensure the camera is in a good network spot and update your app/firmware regularly to prevent recurrence. This ensures uninterrupted functionality and peace of mind with your Lorex smart Wi-Fi cameras.
Power Cycling The Camera
When dealing with minor connection glitches, restarting electronic devices is a lifesaver. It resolves software bugs and rejuvenates connections.
To swiftly bring your cameras back online, initiate a restart. This encompasses your camera, network router, and all associated devices.
For camera rebooting, disconnect it from the power source, wait 1 – 3 minutes to discharge, then reconnect. Repeat this process for all network devices (router & Home center).
After reconnection, allow a minute for the devices to power up and reconnect.
Check the Lorex camera’s LED indicator; a solid green confirms proper power. If not, examine the camera or power cord for physical damage.
Next, refresh the Lorex Home app by closing and reopening it, then verify the camera status.
Power cycling has rescued me countless times during connection problems. If successful for you, integrate periodic smart home device restarts into your routine.
Ensure Your Router Connectivity To The Internet
To get your Lorex camera up and running smoothly, make sure your router’s internet connection is active and stable. Check on your phone or another device to confirm the router is connected to the internet. Resolve any network issues before connecting the camera.
If you encounter an “offline” error due to power disruptions or internet drops, restart both your network router and the camera. Once connected, the camera app indicator should return to “online,” allowing easy access and management.
For Lorex Smart Home Security Center, enhance signal coverage by lifting the antennas and ensuring no new signal obstructions along the camera line. If the camera is too distant, consider incorporating a Lorex Home extender to expand the LSHSC network range, ensuring your cameras stay reliably online.
Reconnect the Camera In the Lorex Home App
To reconnect your Lorex camera to the Lorex Home app, follow these simple steps:
- Open the Lorex Home app on your mobile device.
- Navigate to the camera settings menu.
- Select “Device Management” or a similar option.
- Identify the offline camera and choose “Reconnect” or “Add Device.”
- Follow the on-screen prompts to input the camera details.
- Make sure your camera is switched on and within the coverage area of your Wi-Fi network.
- Please hold while the app identifies and establishes a connection with the camera.
- Once connected, test the live feed to confirm the successful reconnection.
These steps should seamlessly restore your camera’s connection to the Lorex Home app.
Reset Your Lorex Camera
Resetting your Lorex camera is crucial to resolve persistent offline issues and restore it to default settings. This process helps troubleshoot connectivity problems, ensuring optimal performance and functionality within your surveillance system. To reset your Lorex camera, follow these straightforward steps:
- Locate the reset button on your camera – typically found near the power port.
- Using a small, pointed object (e.g., paperclip), press and hold the reset button.
- Keep the button depressed for about 15 seconds or until you see LED indicators change.
- Release the reset button.
- Give the camera a few minutes to finalize the reset procedure.
- Reconfigure your camera settings as needed using the Lorex Home app.
This quick reset can often resolve persistent offline issues and restore your camera to default settings.
Establishing The Camera From Scratch
To set up your camera on the Lorex Home app, follow these steps:
- Launch the Lorex Home app and log in to your account.
- Press on the “+” icon to add a new device.
- Scan the QR code or manually enter the device ID, and then tap Next.
- Make sure the camera LED is flashing green and proceed by tapping Next.
- Allow Lorex Home to join your network by tapping “Join.”
- Generate a password for your device and remember it for future use.
- Input the password for your Wi-Fi network when requested.
- Once the LED indicator turns green, tap Next.
- Provide a name for your device and click on Complete to finish the setup.
Reconnect Your Lorex Home Center
How to reconnect your camera to the Lorex Home Center:
First, make sure your camera is connected through the app. Then, ensure the Lorex Home Center is on the same network as your camera.
- Open the Lorex Home Security Center app.
- Tap the “Devices” icon.
- Select “I already have devices set up through the Lorex Home App.”
- Let the Lorex Home Center search for devices on your network.
- Choose your camera from the list and enter its password (the one you set up when adding it to the Lorex Home app). Tap “Save.”
- Tap “Next” to proceed.
- Give your device a name, either unique or from the preset list, and tap “Save.”
- Select the installation point category (Indoor or Outdoor) and tap “Next.”
- Finally, tap “Done” to complete the process.
Your camera is now successfully added to the Lorex Home Center. You can find it in the devices tab to view and customize settings.
Final Thoughts
Troubleshooting your Lorex camera’s offline issues can be a straightforward process with the right steps. By power cycling the camera, ensuring router connectivity, and reconnecting it to the Lorex Home app, you can often resolve the problem.
If necessary, performing a reset or establishing the camera from scratch may be required. Remember to keep your firmware updated for optimal performance. If you encounter difficulties, don’t hesitate to reach out to Lorex support for assistance.
With patience and persistence, you can reestablish your Lorex camera to online status and appreciate genuine serenity realizing your property is secure.


