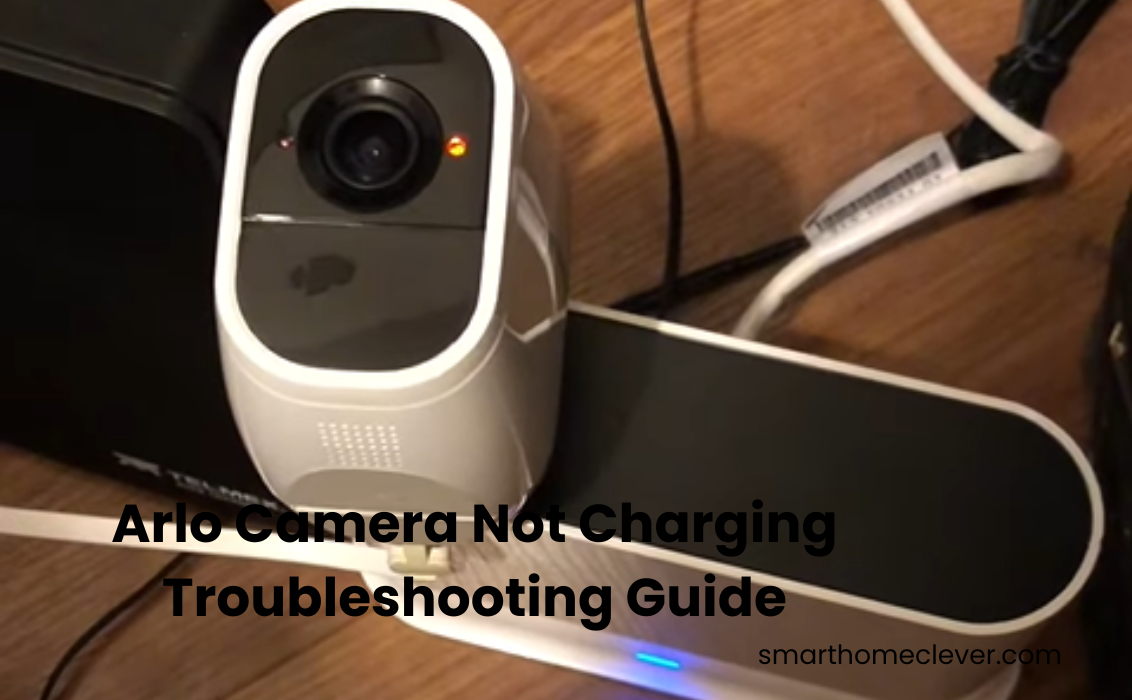
Most Arlo camera models come with a wireless rechargeable battery, except for some batteries that plug directly into a power outlet. Since this Arlo smart camera is rechargeable, it runs on lithium-ion batteries that can last up to six months or even more despite the lifetime commitment that eventually recharging is inevitable.
An Arlo camera not charging will destroy your security system because you can’t rely on it. When your Arlo camera battery runs out, users need to recharge it using a power adapter that plugs directly into a wall outlet.
Your camera depends on battery power for healthy performance, whether your camera is battery-operated or directly connected. Without battery power, you will not get any camera service.
I’ll show you some common reasons why your camera won’t charge and troubleshooting steps to employ.
Why Is My Arlo Camera Not Charging?
The frustration of discovering that your Arlo camera refuses to charge can stem from various issues. First and foremost, inspect the charging cable for any signs of wear or damage, as a frayed cable can impede the charging process.
Additionally, ensure that you are using the correct adapter for your Arlo camera, as incompatible adapters may not provide the necessary power. Internal issues, such as a malfunctioning battery or charging port, could also be at play.
By understanding these potential causes, users can embark on a targeted troubleshooting journey to identify and address the specific issue hindering their Arlo camera’s charging capabilities.
Points to Consider:
- Inspect Charging Cable: Examine the cable for any wear and tear.
- Adapter Compatibility: Verify that you are using the correct adapter for your Arlo camera.
- Internal Components: Be aware that internal issues, like a malfunctioning battery or charging port, might be the culprit.
Fixing Arlo Camera Not Charging
When confronted with the frustrating scenario of an Arlo camera that refuses to charge, swift and effective solutions are essential. Begin by performing a simple reset of the camera, as this can often resolve minor glitches affecting the charging process.
If the issue persists, delve into more intricate troubleshooting steps, such as checking the charging cable and adapter for any damage or defects. Users can also explore the possibility of a firmware update, as outdated software can sometimes disrupt the charging functionality.
By systematically addressing these potential issues, Arlo camera owners can restore their devices to optimal charging performance and ensure uninterrupted surveillance for their homes.
Points to Consider:
- Perform a Simple Reset: Start with a basic camera reset to address minor glitches.
- Inspect Charging Accessories: Check the charging cable and adapter for any damage or defects.
- Consider Firmware Update: Explore the option of a firmware update to ensure compatibility and optimal performance.
Look at The Connector Similarity
Introducing the Arlo XL battery cameras – the epitome of cutting-edge security technology. To ensure your investment remains powered and vigilant, it’s crucial to use the right AC adapter. Forget the standard ones; our cameras thrive on the energy provided by compatible 5.0V 2.0 A-rated power adapters, conveniently included in the box.
Before you plug in, make sure your adapter aligns with Arlo’s stringent requirements:
- Look for the QC 2.0 icon – the lightning bolt emblem.
- Confirm the output: 9V===1.1A.
- Seek the reassuring presence of an Arlo or NETGEAR logo.
Beware of the pitfalls of using a regular USB – it supplies only 5 Volts, which falls short of charging the mighty Arlo battery. Remember, undercharging could be a slow but steady demise for your battery life.
To ensure seamless charging, double-check that your correct adapter is not only in hand but also securely connected to a functional outlet. Don’t hesitate to try a different one if needed – a simple yet effective troubleshooting step.
Invest in the longevity of your Arlo XL battery cameras. Charge up with precision, and rest easy knowing your security is powered by the best.
Remove And Reinsert the Battery
Encounter issues with charging? It might be due to the battery not securely snapping into its compartment chamber. To ensure a smooth flow of power from the charger to the battery, the charging and battery terminals need to be in proper contact.
Here’s a quick troubleshooting guide:
- Release the Camera from the Hood: If you own a camera with a removable battery, pop it out for inspection.
- Remove the Battery: Lift the battery from its compartment for a closer look.
- Inspect the Charging Terminal: Examine the charging terminal to ensure it’s in good condition.
- Reinsert the Battery: Once you’re satisfied with the inspection, securely place the battery back in its spot.
- Retest the Charging: Check if the charging issue persists.
As an additional step, consider wiping off any accumulated dust and dirt from the terminals for optimal conduction. Don’t forget to clean both sides of the magnetic connection to guarantee a solid electrical link.
Taking these simple steps can ensure a seamless charging experience for your device. Keep your gadgets powered up hassle-free!
Restricted Down the Charging Issue
Unlock the mysteries of charging Problems with your battery-powered camera! If your camera is giving you a hard time, it might be the camera itself or the battery causing the stir. Imagine this scenario: your battery is A-OK, but the camera’s charging port is playing tricks on you.
Here’s a nifty trick for you: try charging the battery in question with a different but compatible model—a trusty companion, perhaps another camera of the same make. If the battery still refuses to juice up in the alternate camera, chances are, you’ve got a battery conundrum on your hands.
But wait, there’s more! Switch things up by bringing a fully functional battery into the equation. Pop it into your supposedly “faulty” camera and see if it takes the bait and starts charging. The Arlo secure app is your ally here, confirming the charging status.
Spot a charging indicator on the new battery? Bingo! We’ve cracked the code—it’s a battery issue. Unleash the power of troubleshooting and get your camera back on track.
Preventive Measures for Future Charging Issues
To ensure a seamless and uninterrupted experience with your Arlo camera, implementing preventive measures is crucial in warding off potential charging issues. Consider the following proactive steps:
- Regular Inspection of Charging Cable: Periodically examine the charging cable for signs of wear, fraying, or damage. Replace the cable promptly if any issues are detected to maintain a reliable power connection.
- Keep the Charging Port Clean: Regularly check the charging port for debris or dust accumulation. Use compressed air or a gentle brush to clean the port, preventing any hindrance to the charging connection.
- Optimal Storage Conditions: Store your Arlo camera and its accessories in a cool, dry place. Avoid exposing the equipment to extreme temperatures, as this can impact battery performance over time.
By integrating these preventive measures into your standard upkeep, you can fundamentally diminish the probability of experiencing accusing issues with your Arlo camera. Proactive consideration guarantees predictable execution as well as expands the life span of your important home security speculation.
Frequently Asked Question
Why is my Arlo camera not charging?
A: Possible reasons include a damaged charging cable, an incompatible adapter, or debris in the charging port. Ensure the cable is intact, use the correct adapter, clean the port, and consider a reset. If issues persist, check for firmware updates or contact Arlo support for assistance.
How do I know if my camera battery is damaged?
A: Signs of a damaged camera battery include rapid discharging, failure to hold a charge, or unexpected shutdowns. Monitor your battery’s performance and consider replacing it if you notice any of these issues for optimal camera functionality.
How do you restart an Arlo camera?
A: To restart your Arlo camera, follow these steps: Open the Arlo app, select the camera, tap “Settings,” and then choose “Device Utilities.” Finally, click “Restart” to initiate the restart process. This helps resolve minor glitches and enhances the camera’s performance.